Golden Ghee- Zoulal Halats Yough
This post may contain affiliate links. As an Amazon Associate, I earn from qualifying purchases. See my Affiliate Disclosure .
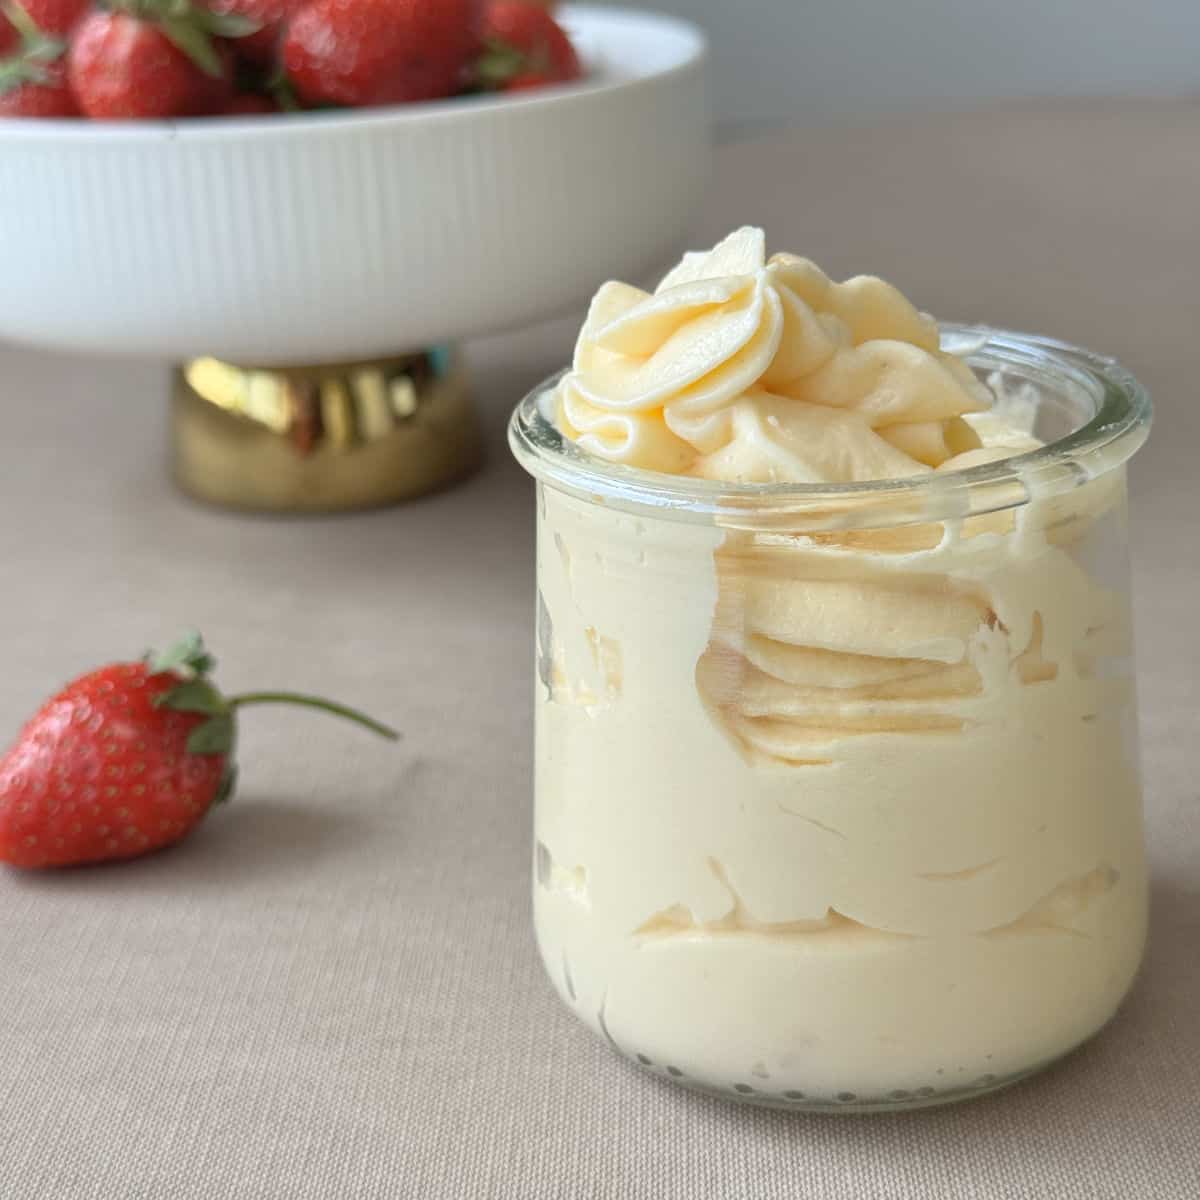
Golden ghee is a must-have staple for your pantry. Whether you store it in the cupboard or the fridge, ghee adds a rich, nutty flavor to a variety of dishes. Once you’ve tried potatoes fried in ghee, you’ll never forget the taste. It transforms simple eggs into a buttery, unforgettable omelette. And don’t miss out on using ghee in iconic desserts where it’s a key ingredient. Versatile and flavorful, ghee is an essential ingredient that elevates your cooking.

Homemade ghee is a kitchen essential that enhances the depth of flavor in many dishes. Whether drizzled over pilaf, used in pastries such as Flaky Gata and traditional Pakhlava, or added to comforting soups, its golden richness brings out the best in Armenian cuisine. If you’re planning a full Armenian-inspired meal, consider dolloping your homemade ghee onto Manti, Armenian dumplings. As they bake, the ghee helps crisp the golden dumplings while giving the spiced ground meat a slightly toasty, irresistible flavor.
Table of Contents
Chronicles of Yough – Armenian Clarified Butter
In Armenian cuisine, “halats yough,” or melted butter, is a cherished staple with deep historical roots. For generations, families would salt butter over several days, preserving it for long-term storage. The butter was then kept in small clay vessels called pouliks, designed to maintain its freshness throughout the year.
A unique tool, known as the khnotci, was traditionally used for churning butter. This tool, a long, oblong barrel with an opening in the center, hung from the ceiling by ropes attached to both ends. Much like a modern KitchenAid mixer, the khnotci was an indispensable piece of kitchen equipment. Freshly made yogurt was poured into the khnotci, and two women would stand at either end, rocking it back and forth in a rhythmic motion, often accompanied by songs and storytelling to pass the time during the lengthy churning process.
Once the butter was churned, it was scooped into a basin and rinsed several times. The final step was to clarify the butter—a crucial process for long-term preservation. Unlike regular butter, which could spoil quickly, clarified butter was stored in pouliks and used throughout the winter, ensuring that this essential ingredient was available during the colder months.

The best parts of this recipe
Makes a perfect pantry ingredient that has various uses.
Grocery List and Pantry List Ingredient Notes & Substitutions
Time Required:
Special Tools to Use:
How to Make Ghee at Home
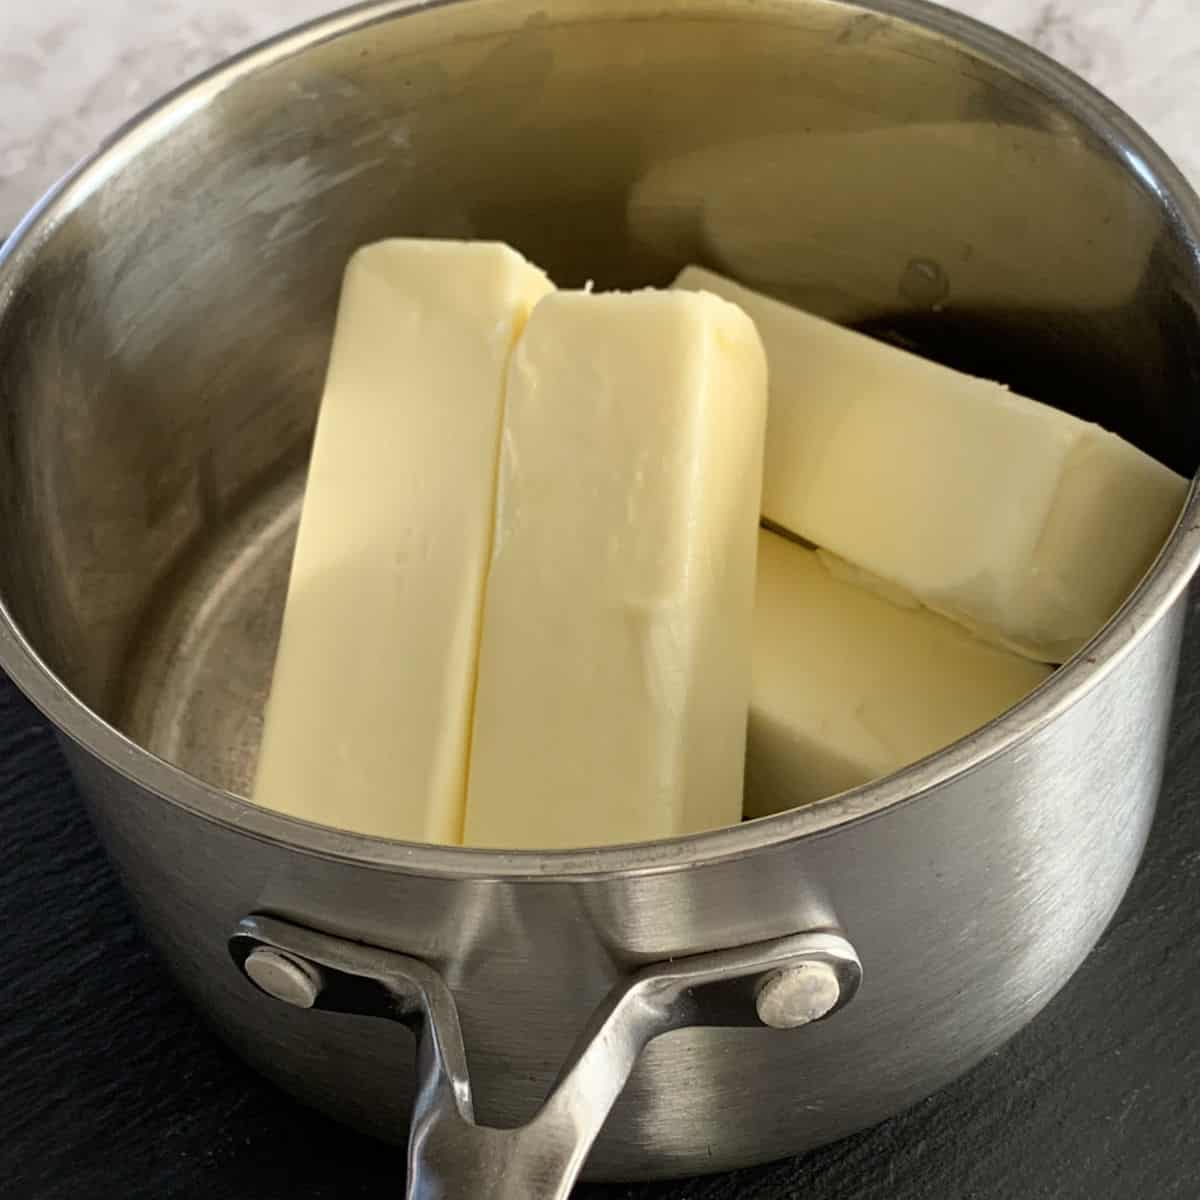
Step 1: Prepare the butter
Begin by cutting the butter into chunks. Sprinkle the salt over the butter, then leave it in the fridge overnight to allow the salt to absorb and release the water.
Step 2: Clarifying butter
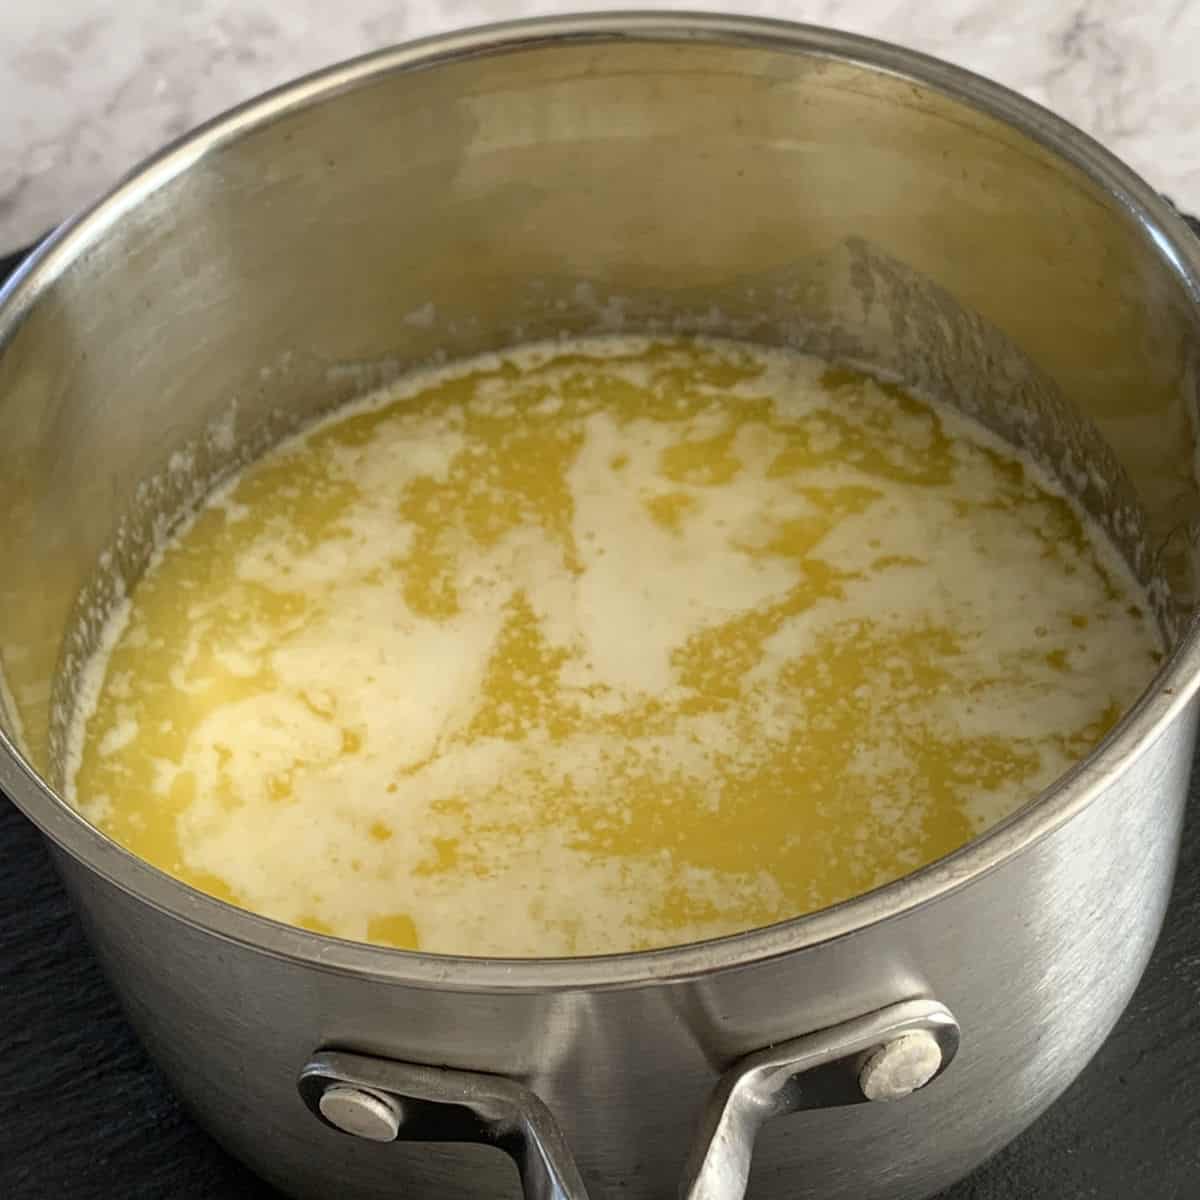

Transfer the butter to a heavy-bottomed pan and place it over medium-low heat. Let the butter melt gently without stirring. As it melts, a white foam will start to form on the surface. Carefully skim off this foam using a slotted spoon and discard it. Be cautious to prevent any spillage.
As the butter continues to heat, bubbles will form—first large, then smaller, more rapid ones. The butter will begin to foam and rise. At this point, sprinkle a tablespoon of flour over the foam. The foam will clump together and settle at the bottom of the pan, which should take about 1-2 minutes. Turn off the heat and let the butter cool slightly.
Step 3: Strain the ghee
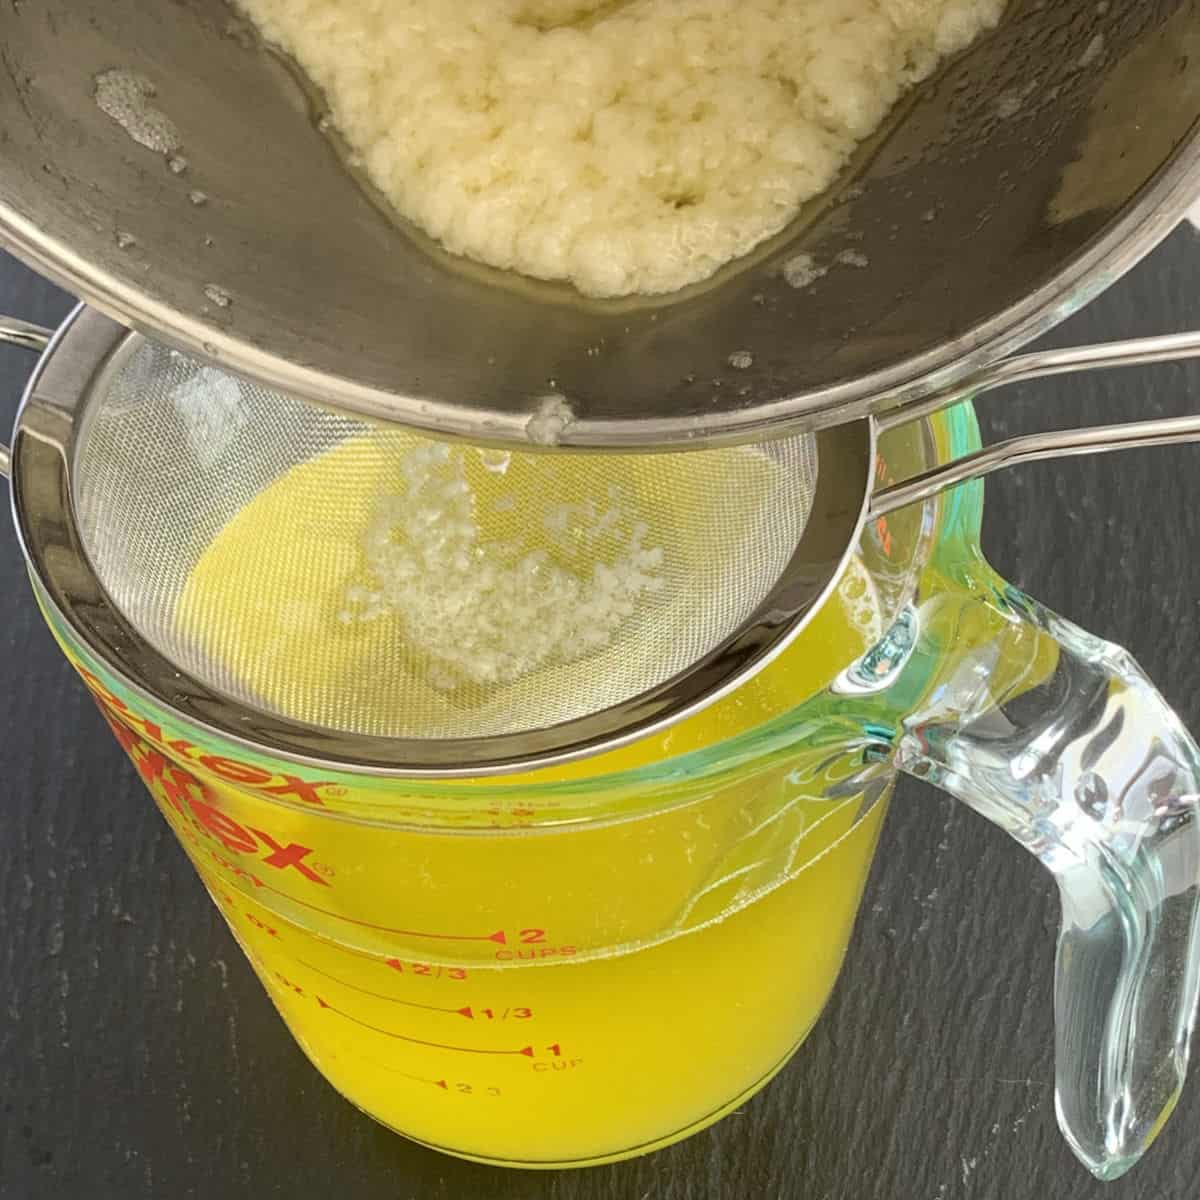
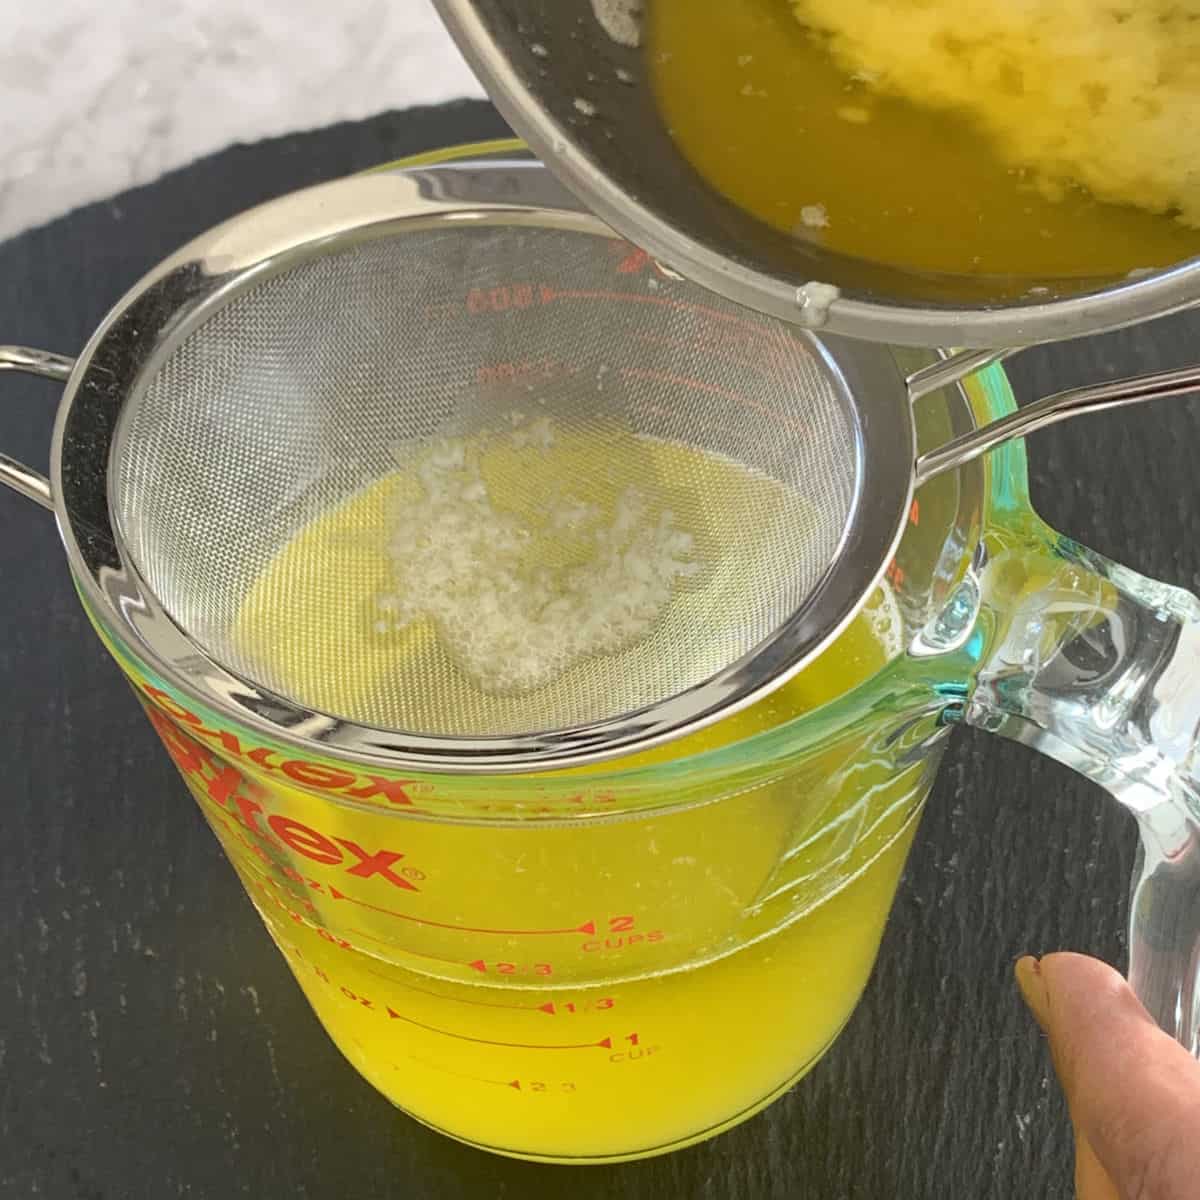

Once cooled, you will see the clarified butter on top, with the white milk solids settled at the bottom. Carefully pour the clarified butter through a fine-mesh sieve into a glass jar, making sure not to disturb the milk solids at the bottom. Store the ghee in a cool, dry place, or refrigerate for longer shelf life.
Ways to use the clarified butter
Tips and Wisdom from Cafe Osharak
Frequently Asked Questions
Should ghee be liquid?
Ghee has a various states. It can vary from liquid to solid depending the temperature. The melting point of ghee is 75°F (32°C) which is a bit higher than the typical room temperature. The ghee will be liquid in warm environment. It will solidify and crystalize in a cooler environment, and get completely solid in the fridge.
Should ghee be stored in the fridge?
Ghee has a history of use that spans centuries. Traditionally, it was stored in clay vessels and kept in cool, dry, and dark places like basements and cellars. Due to the fact ghee lacks lactose and other milk solids, it is considered a shelf-stable product that can be stored outside the refrigerator for months without spoiling
More Recipes to Try From Cafe Osharak
If you give this recipe a try, I’d be thrilled to hear from you! Let me know if you find it delicious and easy to make. Feel free to reach out with any questions or suggestions—I’m here to help. And be sure to check out other recipes from Cafe Osharak that you might enjoy!
Ghee- Halats Yough

Ingredients
- 1 kg butter
- 1 tablespoon salt
- 1 tablespoon flour
Instructions
- Cut butter into chunks and sprinkle with a pinch of salt.
- Leave in the fridge overnight to allow the salt to absorb.
- Transfer butter to a heavy-bottomed pan and melt over medium-low heat without stirring.
- Skim off the white foam that forms on the surface using a slotted spoon.
- Continue heating until bubbles form, and the butter begins to foam.
- Sprinkle a tablespoon of flour over the foam to help the solids settle at the bottom.
- Turn off the heat and let it cool slightly.
- Pour the clarified butter through a fine-mesh sieve into a glass jar, being careful not to disturb the milk solids at the bottom.
- Store in a cool, dry place or refrigerate for longer shelf life.