Flaky and Buttery Armenian Gata
This post may contain affiliate links. As an Amazon Associate, I earn from qualifying purchases. See my Affiliate Disclosure .
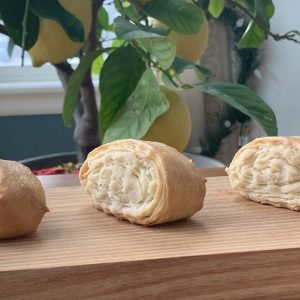
The buttery sweet aroma of Armenian Gata is inviting and comforting. Its crinkly edges unveil layers of crumbly streusel nestled within tender dough. This bite-sized variation is just one among many versions of Armenian Gata. Its petite size not only presents beautifully, but also ensures long-lasting freshness.

Chronicles of Armenian Gata and Gatanakhsh
Within the rich tapestry of Armenian culinary heritage, gata holds a cherished and unique place. This pastry bread, known by various names such as “krkeni,” “tari,” and “bagharj,” is far more than a simple dish; it’s a symbol deeply entwined with life itself. Gata is a means of artistic storytelling, a tradition passed down through generations over centuries. Its surface is a canvas adorned with an array of symbols, each carrying its own profound meaning. Some patterns signify the passing of the twelve months of the year, while others pay homage to celestial luminaries. Some patterns are inscribed with writing, while others are intricately woven together.
The exquisite decoration is achieved through the use of a special stencil stamp known as “gatanakhsh.” These stamps are treasured possessions in Armenian households, each reserved for specific occasions. This tradition traces its roots back millennia, with evidence of similar stamps discovered in archaeological sites dating to the third millennium BC.
A poignant tale surrounds one particular gatanaghsh, dating back to the 19th century, which found its way into the Wood Carving Museum of Yerevan. This exquisite artifact was generously donated to the museum by the heir of its original owners. It stands as a relic of a family that carried this cherished heirloom with them while fleeing their home during the tumultuous events of the Armenian Genocide in 1915.

The wooden stamp is a marvel of intricate design, with patterns interwoven in perpetual motion, featuring four angels carved into each corner, creating a cross-like motif. It’s a powerful example of storytelling through artistry.
Gata isn’t just prepared for any occasion; it takes center stage during momentous events, particularly holidays and weddings. Gata plays a starring role in New Year’s celebrations, embodying sacrament and blessings, and is believed to possess the power to protect and usher in prosperity. It’s an indispensable element of the wedding ritual, but its significance extends far beyond these festivities. Gata is a testament to Armenia’s culinary heritage and the profound cultural traditions that have been lovingly preserved through the ages.
Grocery and Pantry List for Gata Recipe
Time Required:
Bake in 350°F(180°C) the preheated oven.
Gata Recipe Steps at a Glance
This gata recipe can be broken down into the following steps:
Make Armenian Gata Step by Step
Step 1: Making the Gata Dough
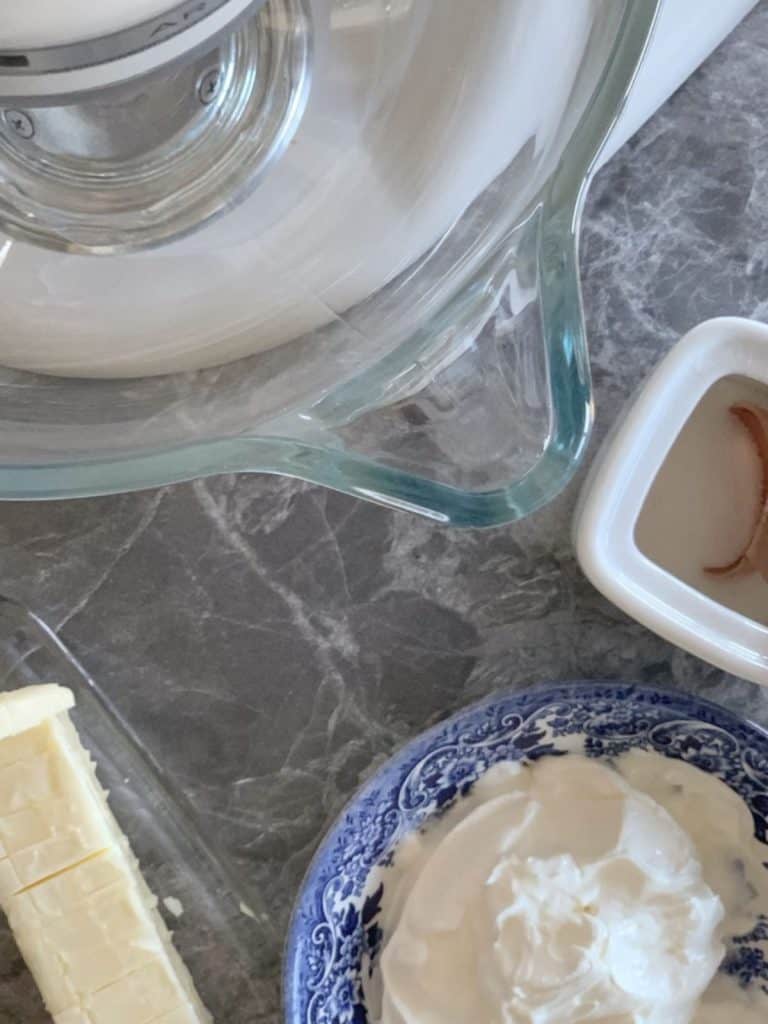
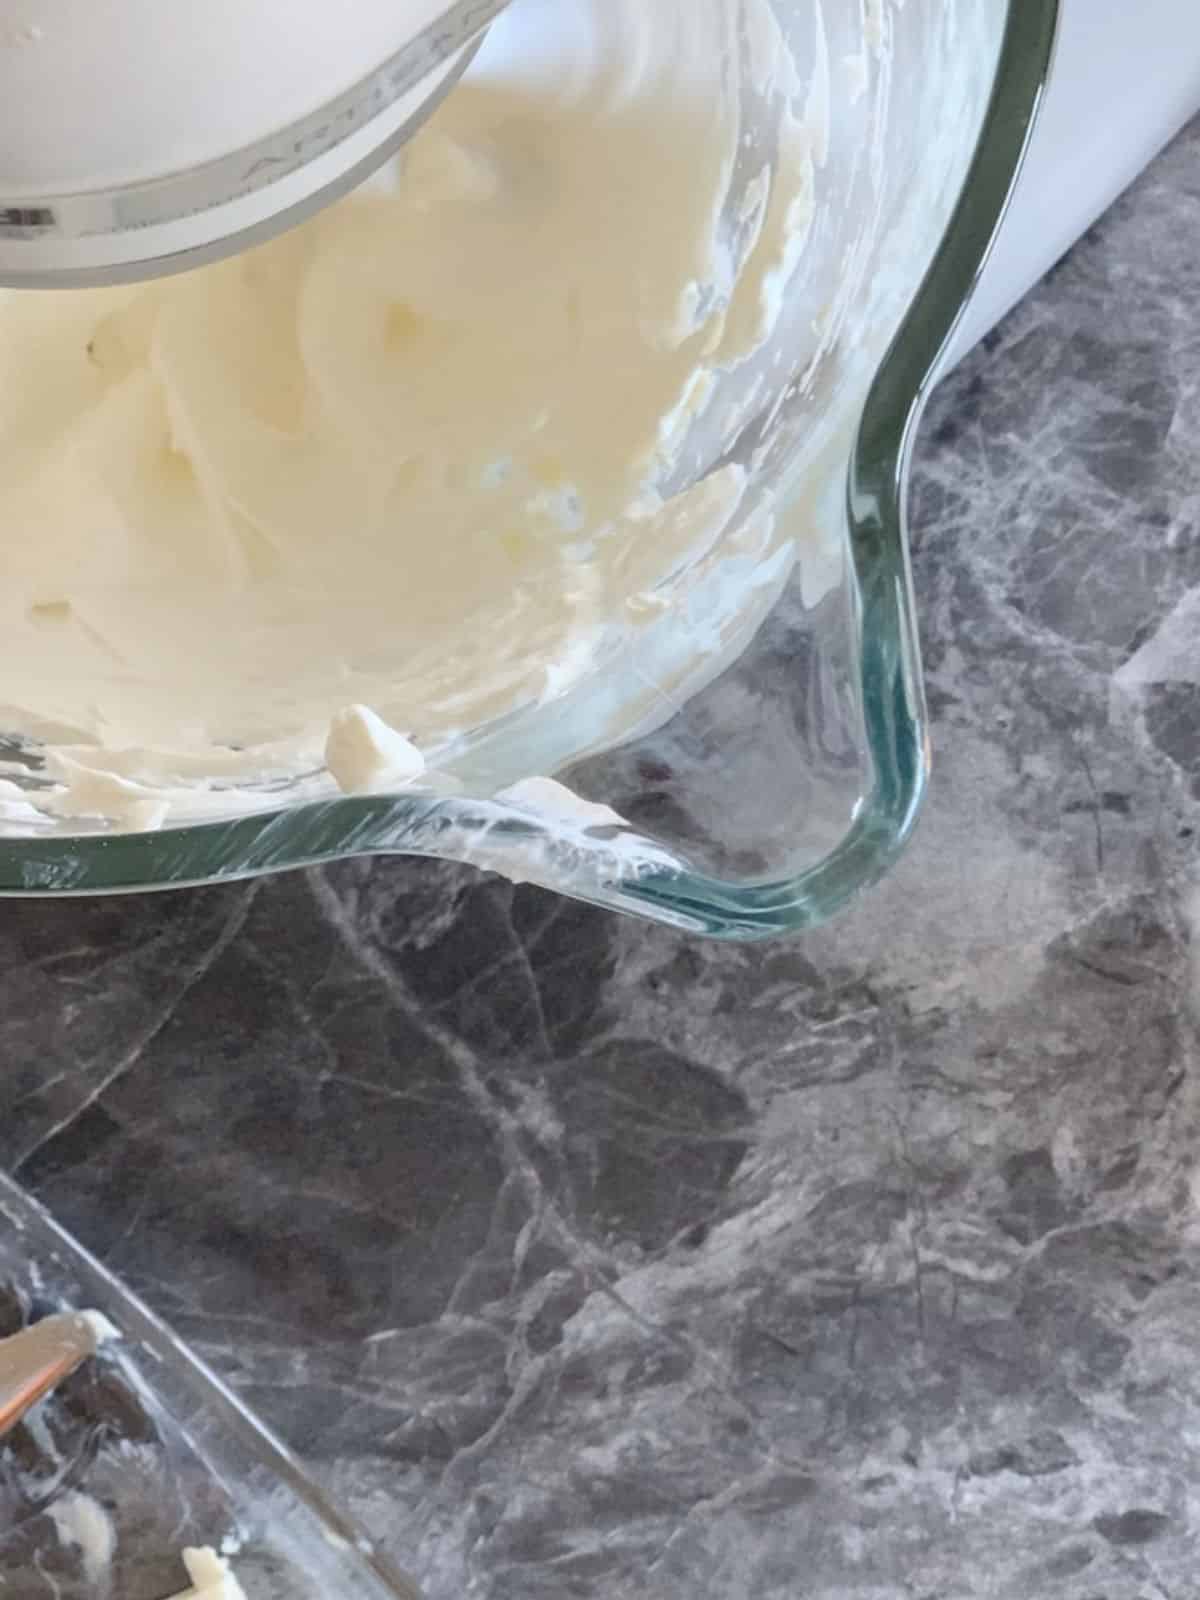
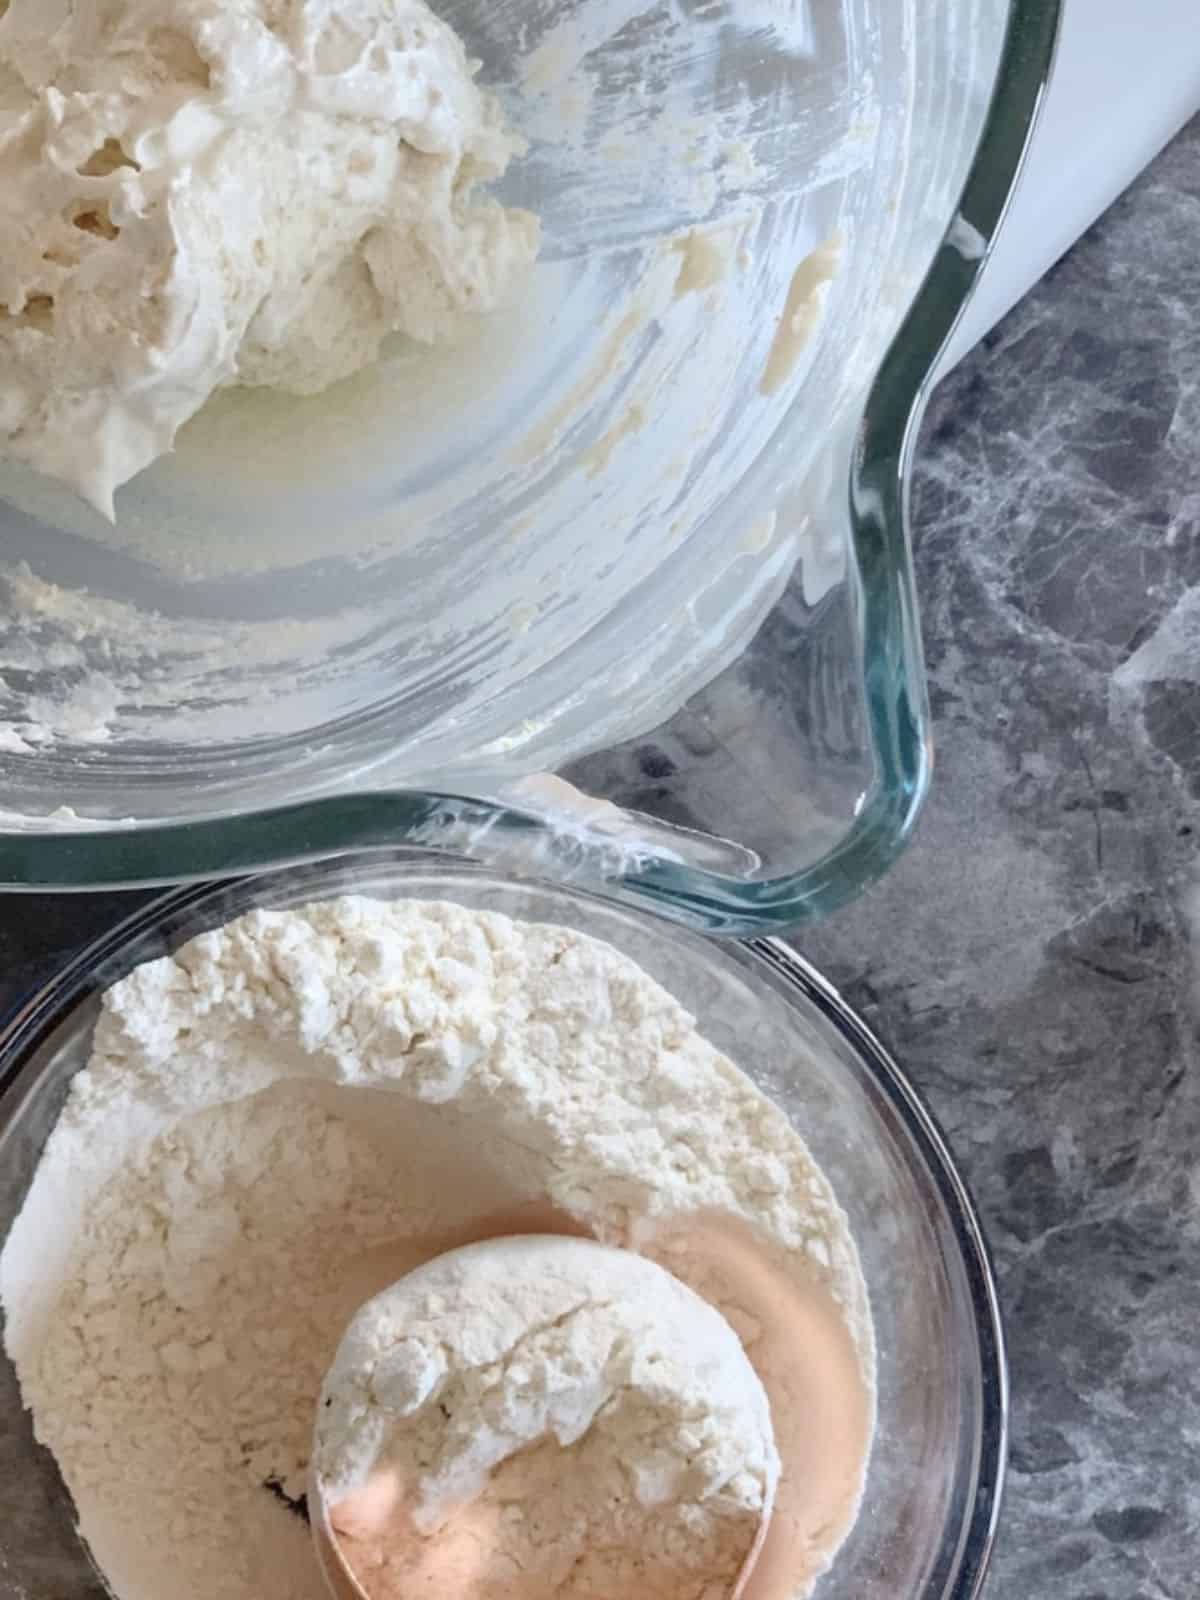
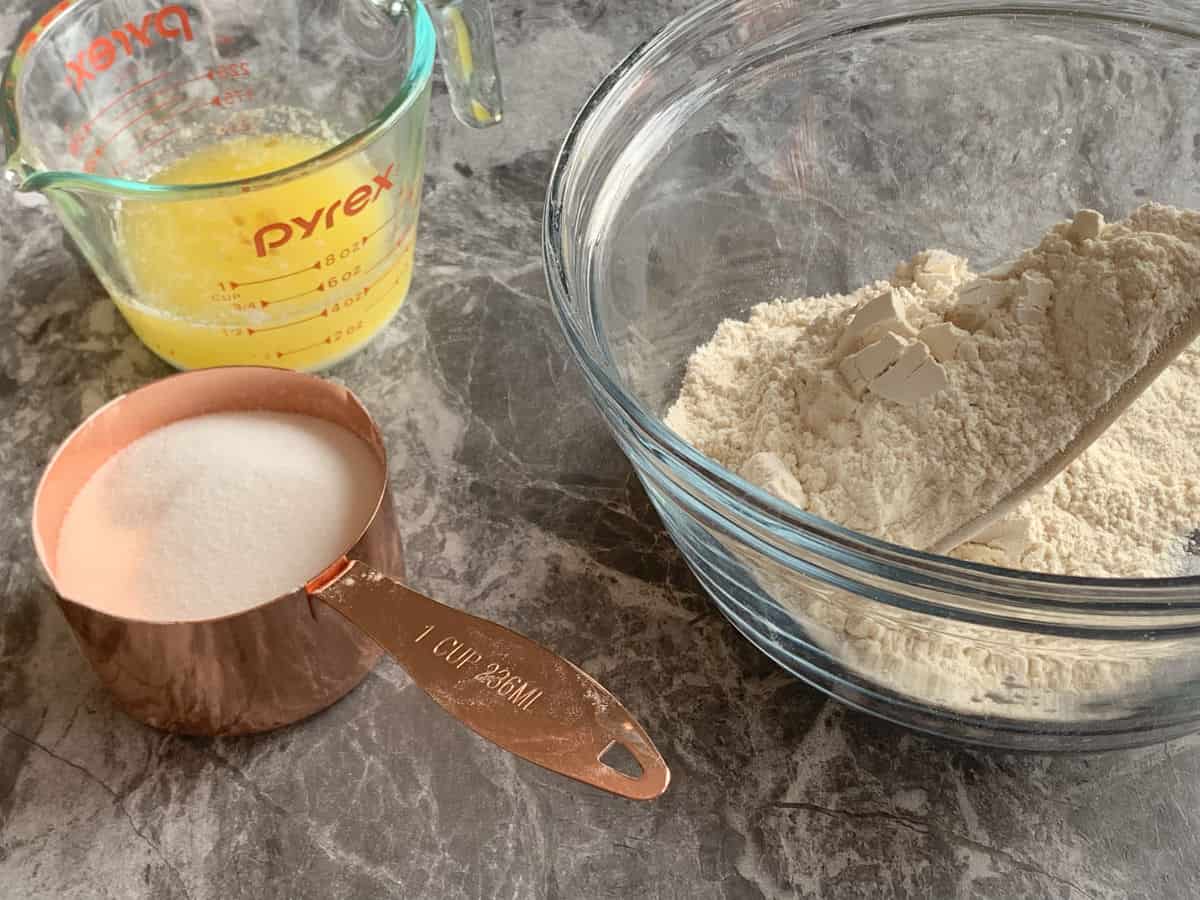
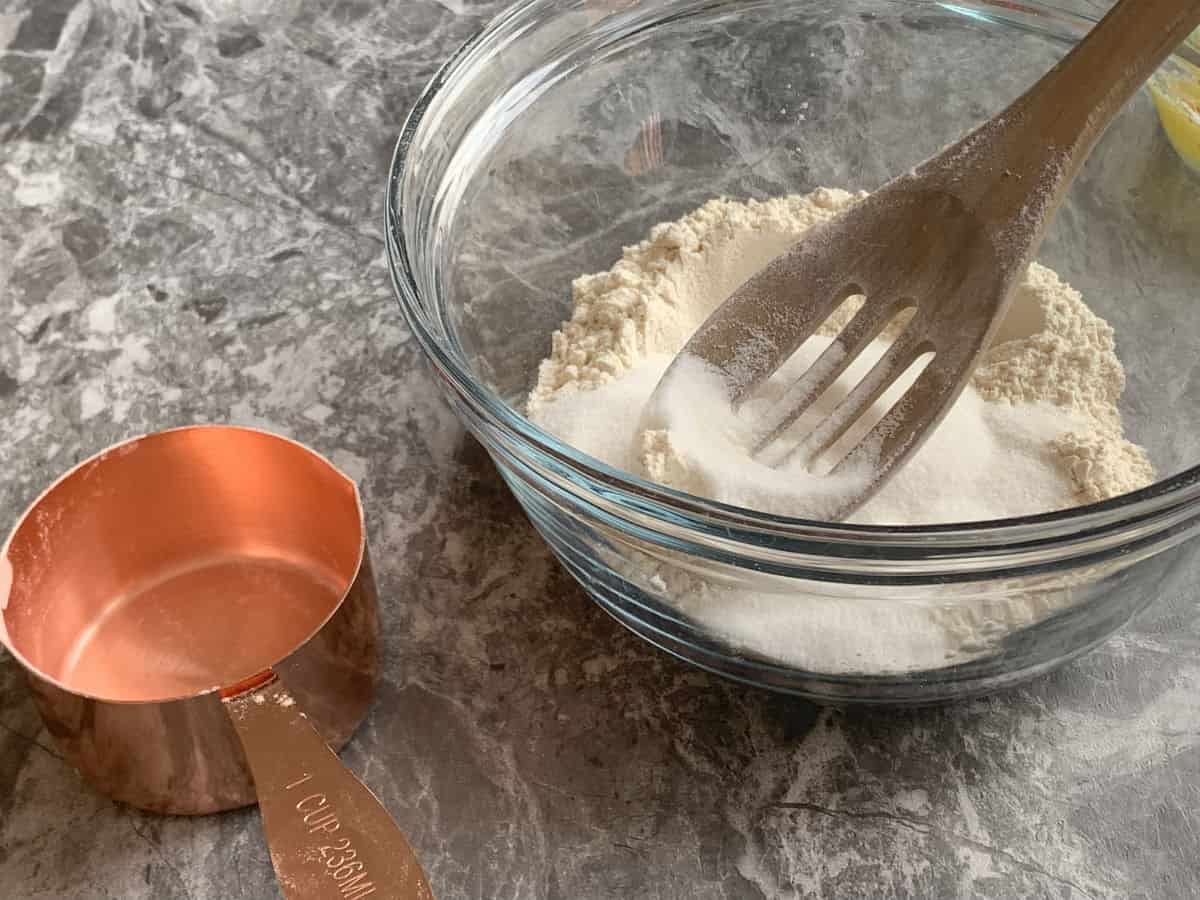
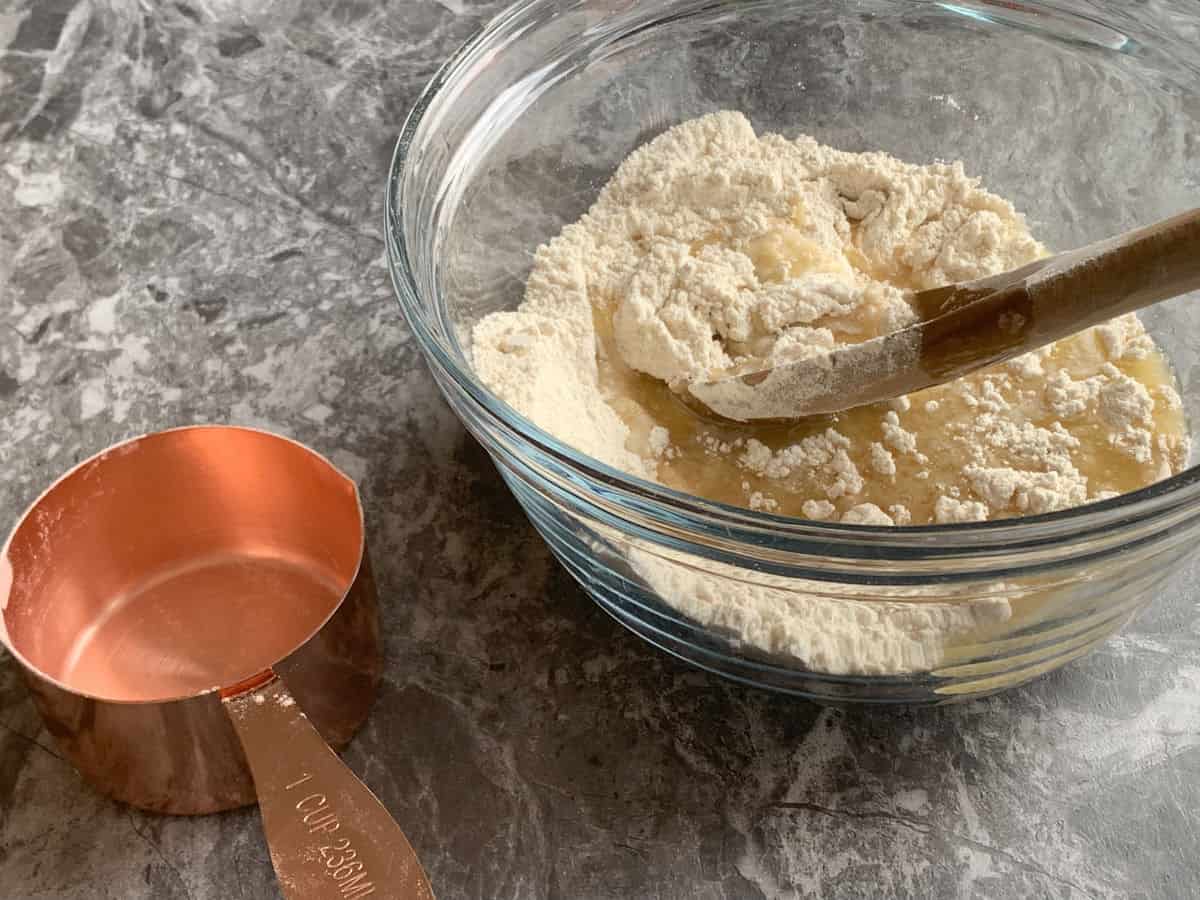
In a standing mixer, combine the butter, sour cream, and sugar. Add the yeast and gradually incorporate the flour until a dough forms. Shape the dough into a ball and let it rest in the bowl to activate the yeast for at least 3 hours.
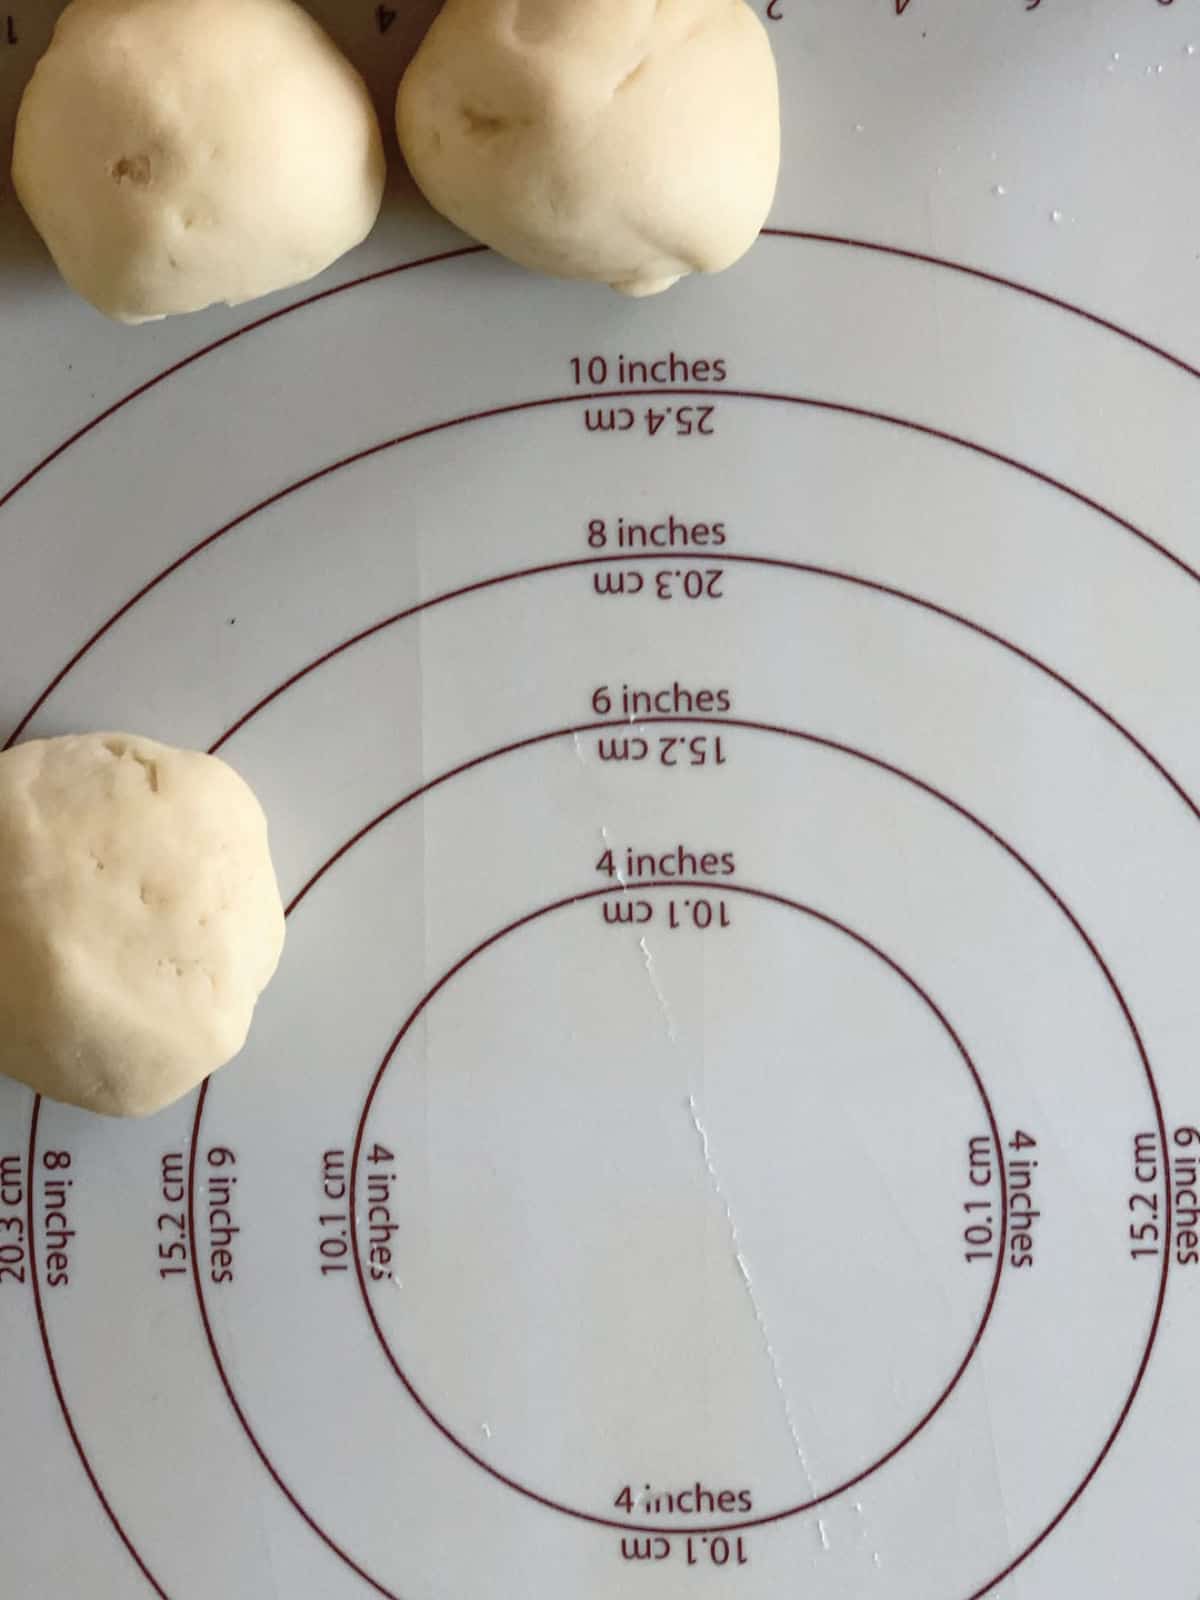
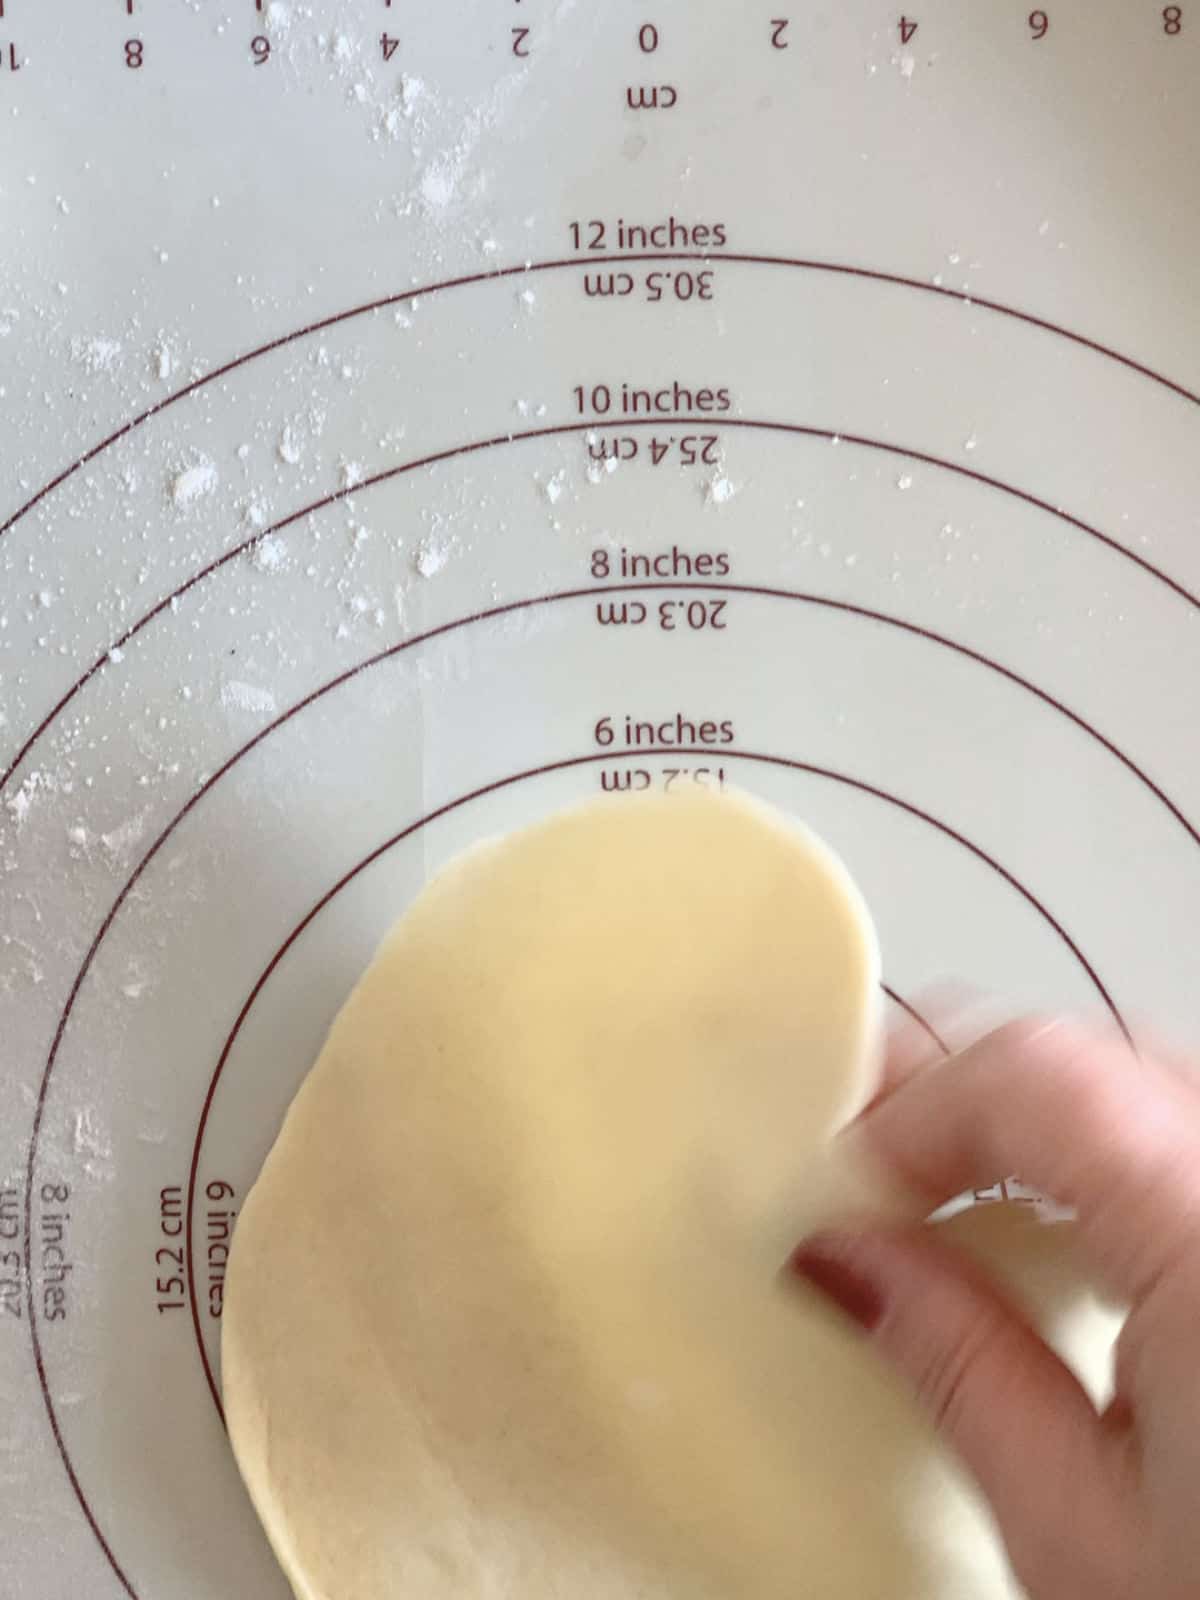
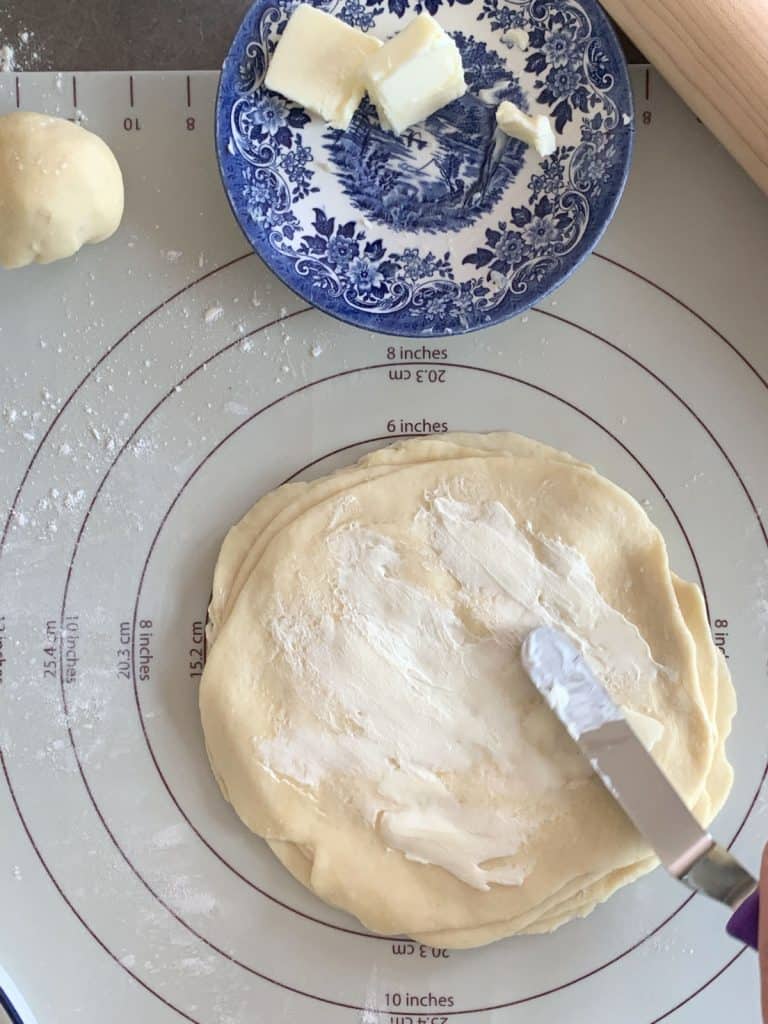
Next, divide the dough into 10 equal portions. We will work with five dough balls at a time. Roll each portion into an 8-inch (20 cm) circle. Spread butter evenly on each circle, ensuring there’s a small margin at the edges. Stack the next circle on top, repeating this process with the next four dough balls. Please note not to spread butter on the topmost circle of each stack. Begin the second stack and repeat the same process with the remaining five dough balls.
Chill for at least 20-30 minutes.
Step 2: Making the Streusel filling

In a frying pan, gently toast the flour over low heat for approximately 5 minutes, or until it begins to take on a slight change in color.
Transfer the toasted flour to a bowl and add the sugar, then mix them together.
Gradually pour in the melted butter infused with vanilla, drizzling it into the mixture.
Using either a pastry cutter or your hands, thoroughly blend the ingredients until the flour is fully integrated, resulting in a mixture that resembles damp sand.
Step 3: Forming gata
Preheat the oven to 350°F (175°C).
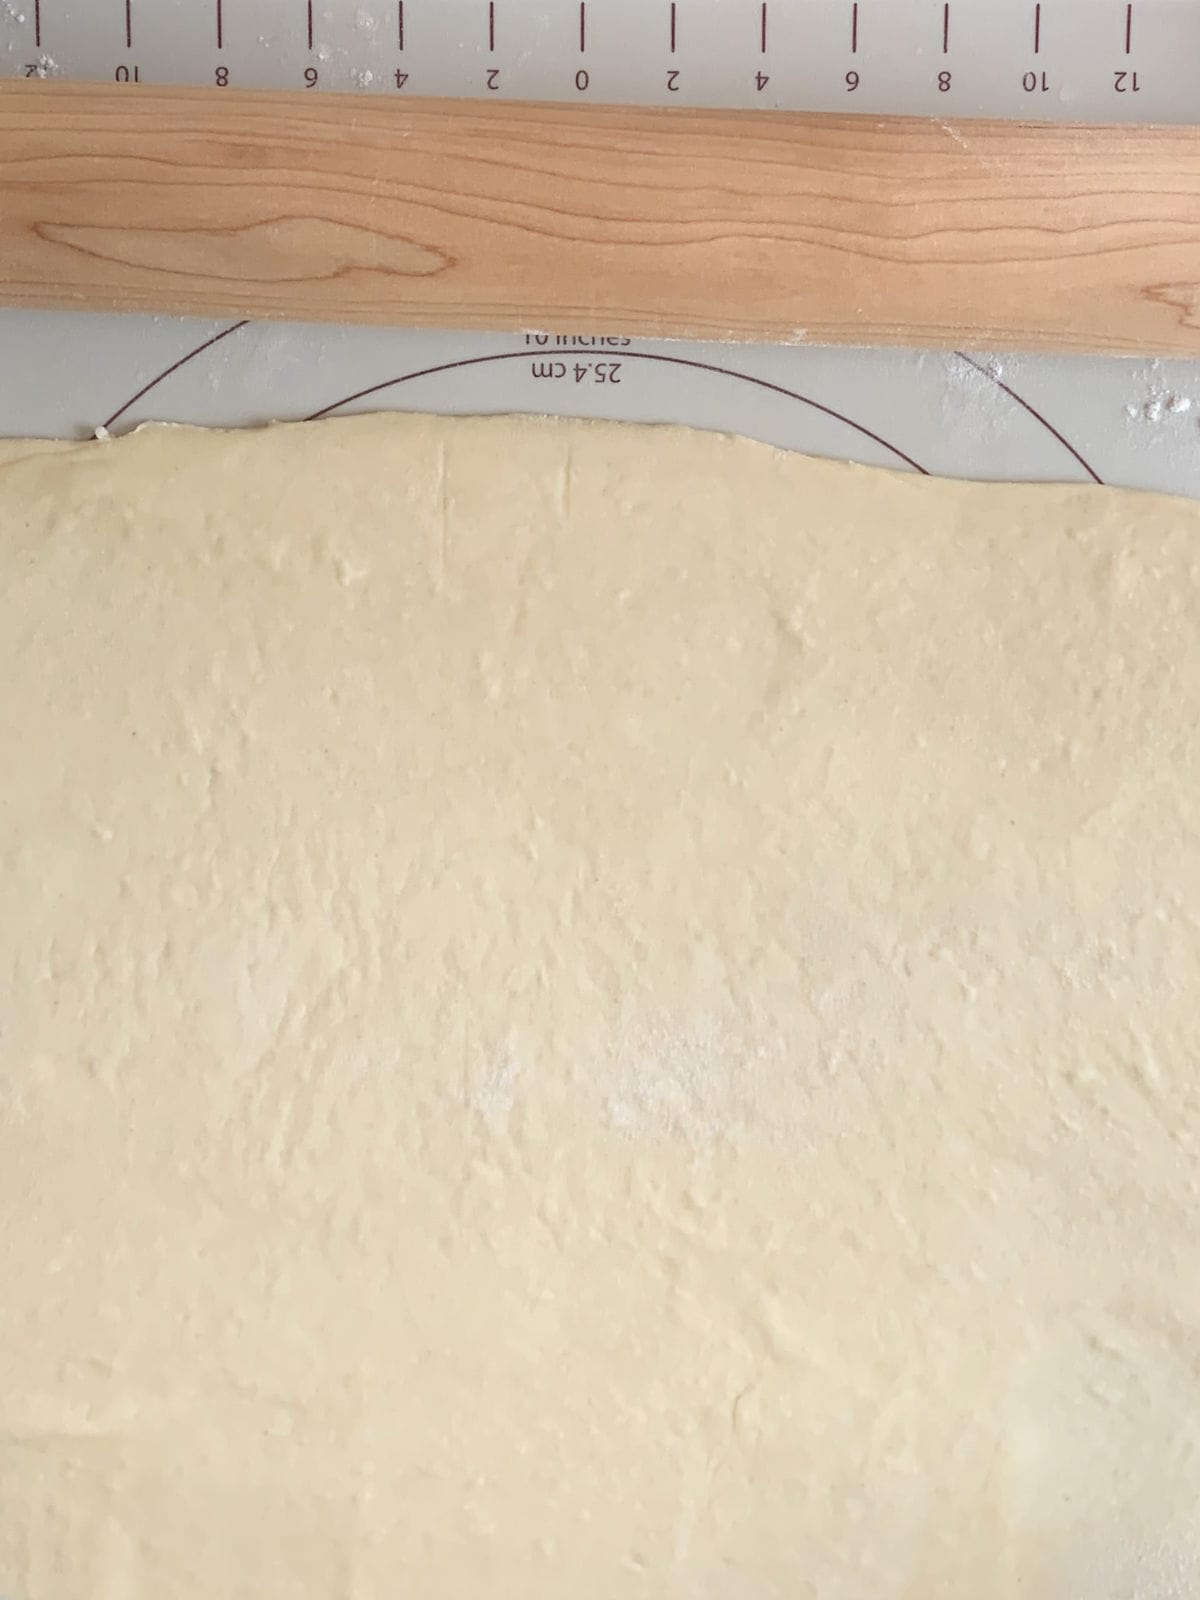


Take the dough out of the refrigerator and place it on a lightly floured counter. Roll it into a rectangle, approximately 10×18 inches (5×45 cm) in size.
Evenly distribute the filling across the dough’s surface. Use your hand to gently press it down, ensuring it adheres to the dough without poking through.
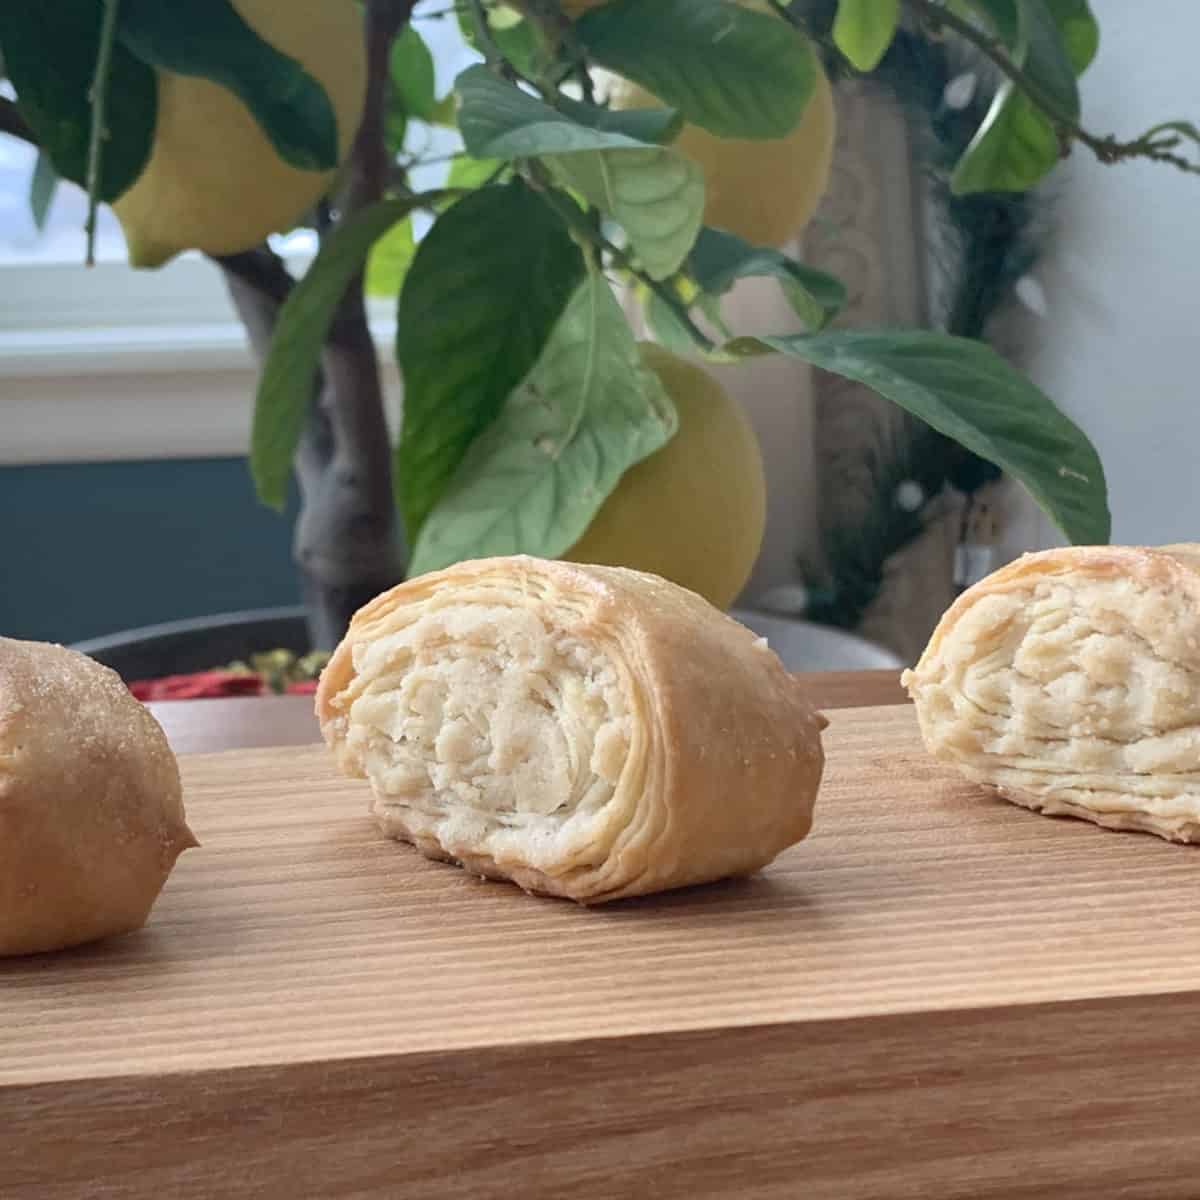
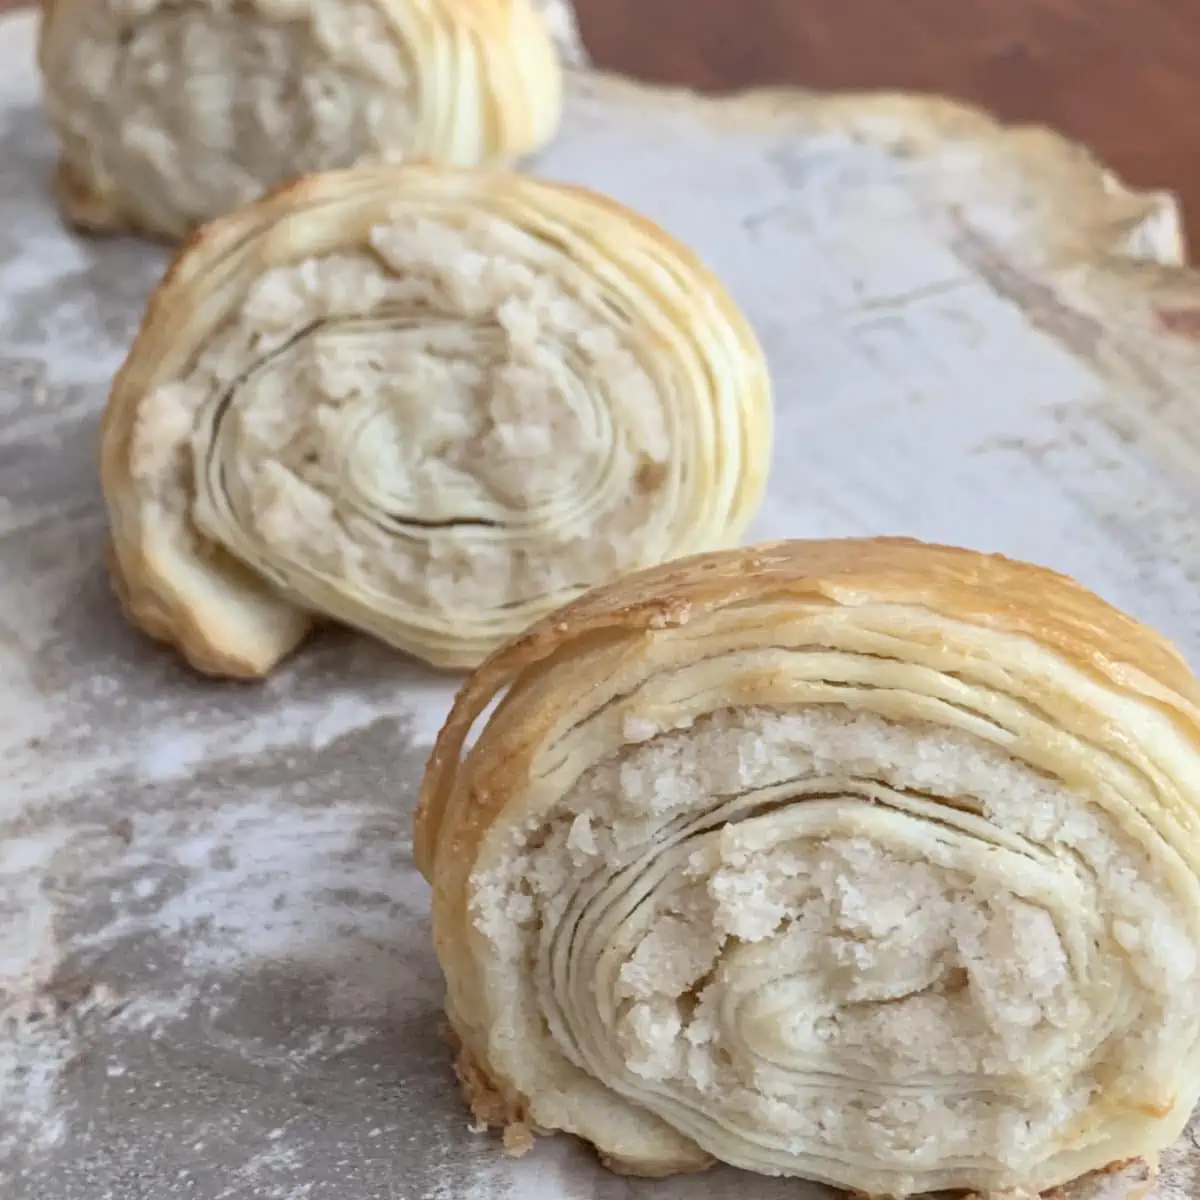
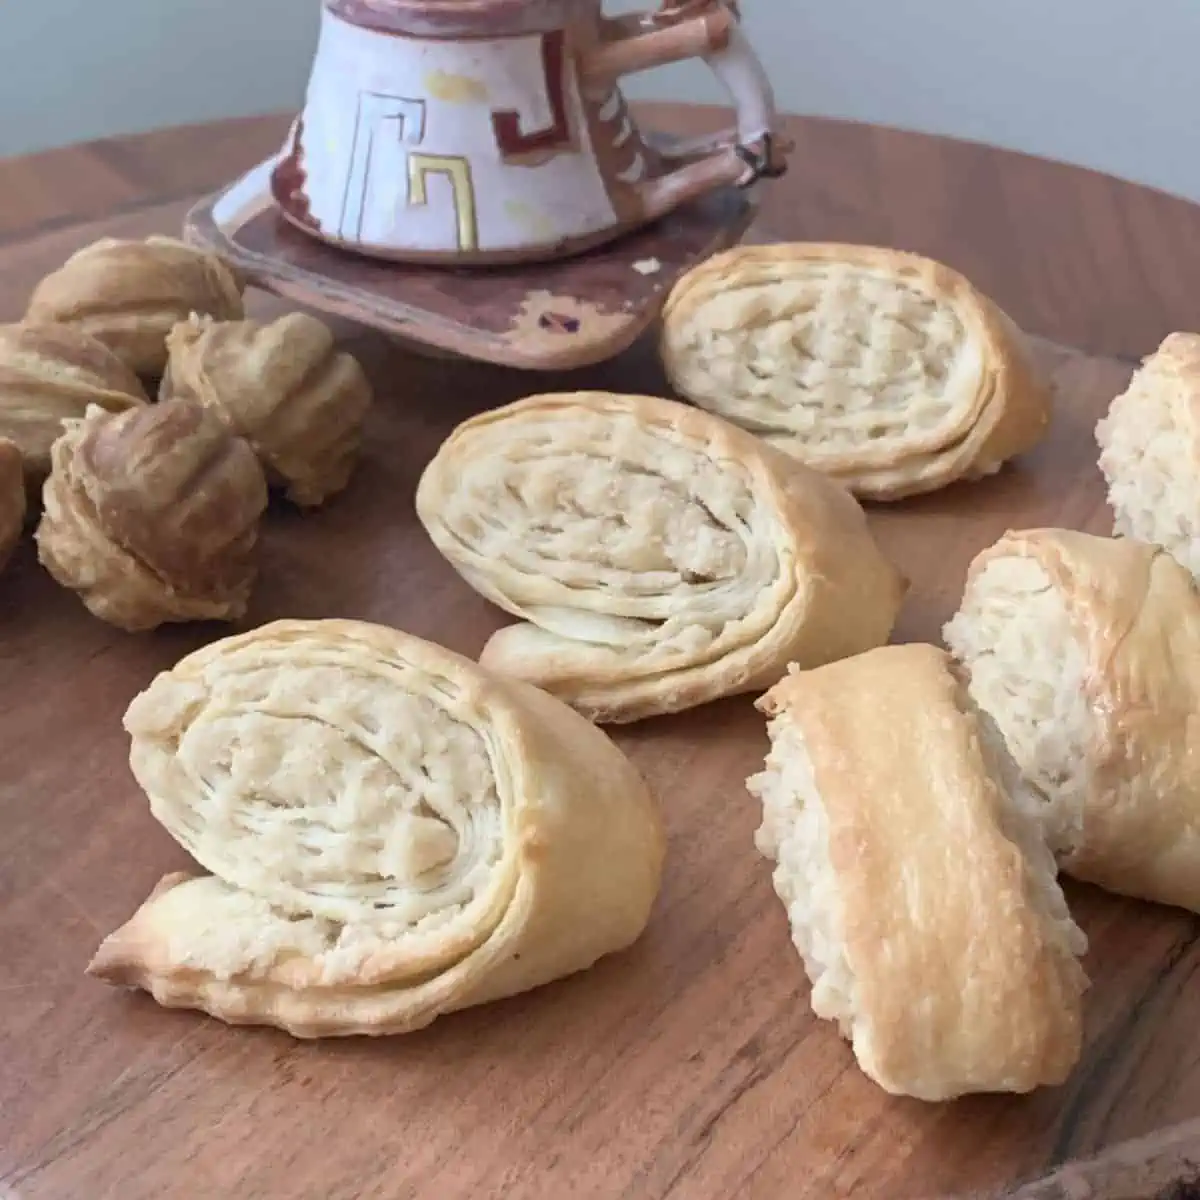
Starting from the longer side, carefully roll the dough up. Be sure to keep the seam on the bottom as you reach the opposite end, resulting in an 18-inch log.
Slightly flatten the log, then use a sharp or serrated knife to cut it into 10 equal pieces.
Arrange the pieces on a baking sheet, lightly brush them with an egg wash, and then bake for about 30 minutes.
After removing the baked gata from the oven, brush with a mixture of honey and water. Transfer it to a wire rack to cool.
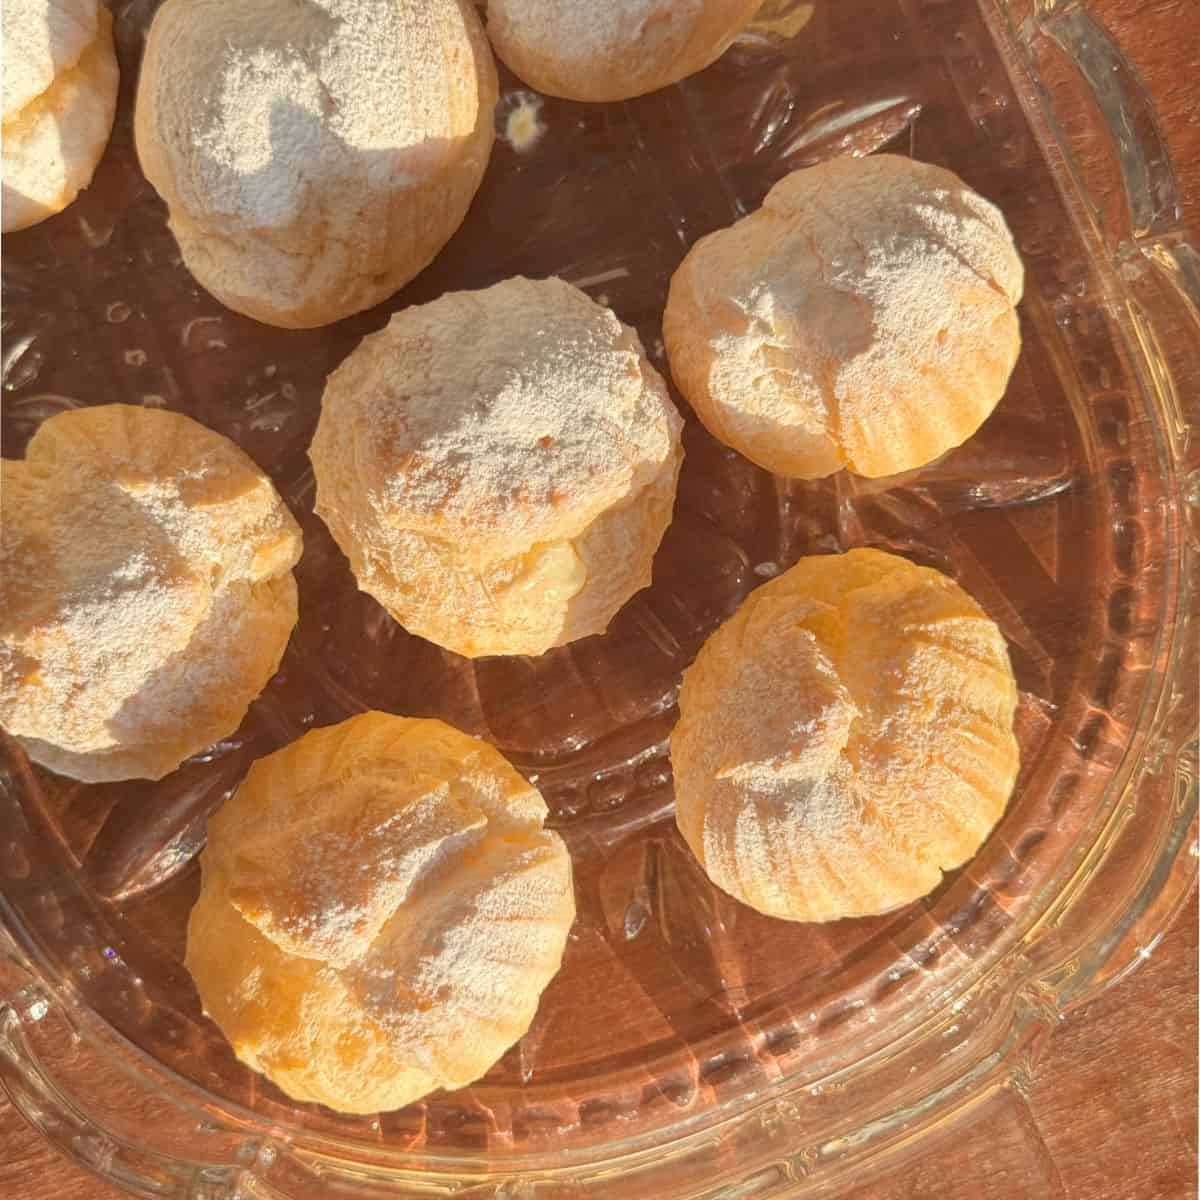
Best Way to Serve Gata
Tips and Wisdom from Cafe Osharak
More Armenian Breads & Pastries
Gata sits at the place where bread and pastry meet. It’s flaky, buttery, and deeply Armenian. These are the recipes that share its spirit and its place on the Easter and everyday table.
More from the Osharak Table
If this recipe hit the spot, be sure to explore Walnut Confection , Walnut Waffle. and Tuile cookies. Each one is a family favorite that I can’t wait for you to try! Let me know how they turn out for you!
Flaky and Buttery Armenian Gata
Ingredients
Pastry dough
- ½ cup sour cream 150 g
- 2 tablespoon sugar
- 1 ½ cup flour 250 g
- 1 teaspoon yeast
- 1 ½ cup Butter 150 g divided
Filling
- ½ cup butter clarified 100 g
- ¾ cup sugar
- 1 cup flour
- Vanilla
Egg wash
- 1 egg
- 1 tablespoon Honey
Instructions
Making the Gata Dough:
- In a standing mixer, combine the 1/2 cup of butter, sugar, and sour cream.½ cup sour cream, 2 tablespoon sugar, 1 ½ cup Butter
- Gradually add the yeast and fold into the flour.1 teaspoon yeast, 1 ½ cup flour
- Mix until the dough forms.
- Shape the dough into a ball and leave it in the bowl (covered) to rest and allow the yeast to activate. (the dough should noticeably rise)
- Divide the 100 g ( 1 stick) of butter into 8 pieces.1 ½ cup Butter
- Divide the dough into 10 equal portions.
- Work with 5 dough balls a time.
- Roll each dough ball into an 8-inch (20 cm) circle.
- Spread butter on each circle, layering them on top of each other. Evenly coat each circle with butter, leaving a slight border at the edges but do not butter the last 5th circle.
- Proceed with the second stack, repeating the identical process with the remaining five dough balls.
Making the Streusel Filling:
- In a frying pan, toast the flour over low heat for about 5 minutes, just until it begins to change color slightly.1 cup flour
- Transfer the toasted flour to a bowl and add the sugar. Mix them together.¾ cup sugar
- Drizzle vanilla into the melted butter and add it to the flour mixture.½ cup butter clarified, Vanilla
- Use a pastry cutter or your hands to thoroughly blend the ingredients until the mixture resembles damp sand.
Forming Gata:
- Preheat the oven to 350°F (175°C).
- Take the dough out of the refrigerator and place it on a lightly floured counter.
- Roll the dough into a rectangle measuring 11×18 inches (28×45 cm).
- Evenly distribute the streusel filling over the dough and gently pat it down to adhere without poking it through.
- Starting from the long side, carefully roll the dough up. Ensure the seam stays on the bottom as you reach the other end, creating an 18-inch (45 cm) log.
- Gently flatten the log slightly, and use a serrated knife to cut it into 10 equal pieces.
- Repeat with the second dough.
- Place the pieces on a baking sheet and lightly brush them with the egg wash.
- Bake for 30 minutes in the preheated oven.
- Once the baked Gata is out of the oven, brush it with the honey-water mixture and transfer it to a wire rack to cool.1 egg, 1 tablespoon Honey