Homemade Lemon Curd with Homegrown Lemons


This post may contain affiliate links. As an Amazon Associate, I earn from qualifying purchases. See my Affiliate Disclosure .
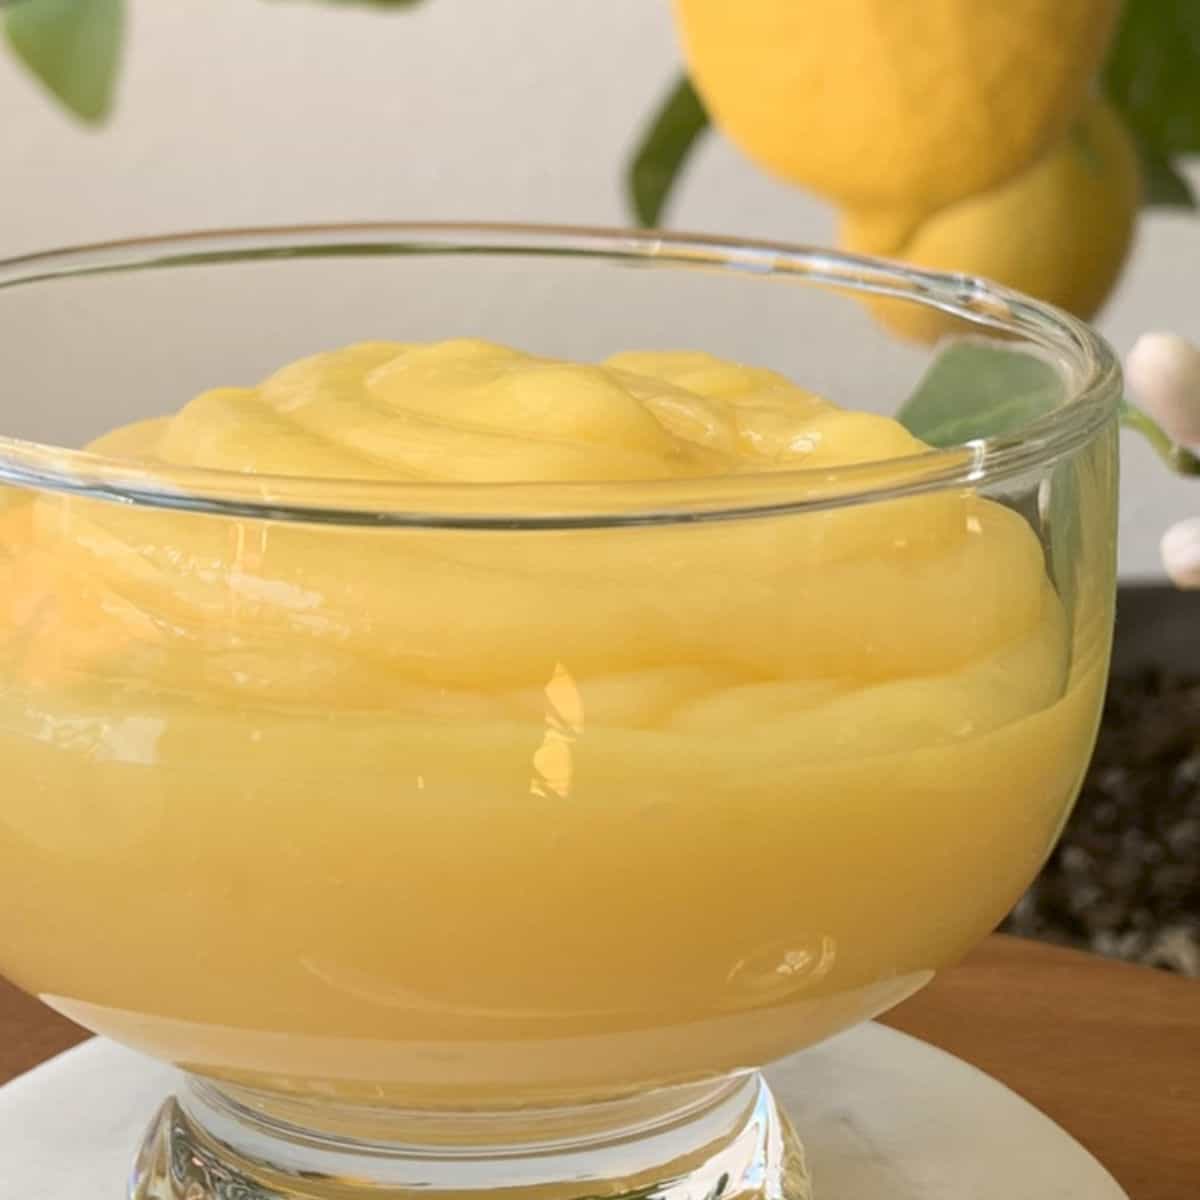
Whether your initial instinct is to dip a spoon into the jar, or to spread it generously on a scone, this classic British preserve undoubtedly offers endless opportunities for enjoyment. This zesty lemon curd is irresistible, tantalizing, and refreshing; boasting a harmonious blend of buttery richness, zesty lemon essence, and the perfect touch of sweetness.
Chronicles of Our Lemon Tree
Allow me to introduce you to my beloved lemon tree, which has been a cherished member of our family for 15 years. When I brought it home from the local nursery, it was a slender and tiny little plant with plenty of leaves but without flower or fruit.
For two years, we diligently cared for it, ensuring ample sunlight whether indoors or outdoors, providing nourishment and hydration. During this period, our harvest consisted solely of leaves, which I skillfully employed to create dishes such as Grilled Meatballs wrapped in Lemon Leaves.
We started seeing first blooms that were sweet and fragrant, but delicate and fragile. It was exciting to see those flowers turning into little green fruits. We held our breath hoping these fledgling fruits would endure the entire journey of growth.

In the year 2013, much to our astonishment, our efforts bore fruit – literally. Eight flawless, substantial, and succulent lemons greeted us. Since that pivotal time, the same sense of anticipation and tenderness has graced us annually. Each year, we eagerly count the emerging green fruits, brimming with hope for yet another bountiful harvest.
And here I present the homemade lemon curd made with homegrown fresh lemons.
Grocery and Pantry List

Lemon Curd Recipe Steps at a Glance
This recipe can be broken down into the following steps:
How to Make Step by Step
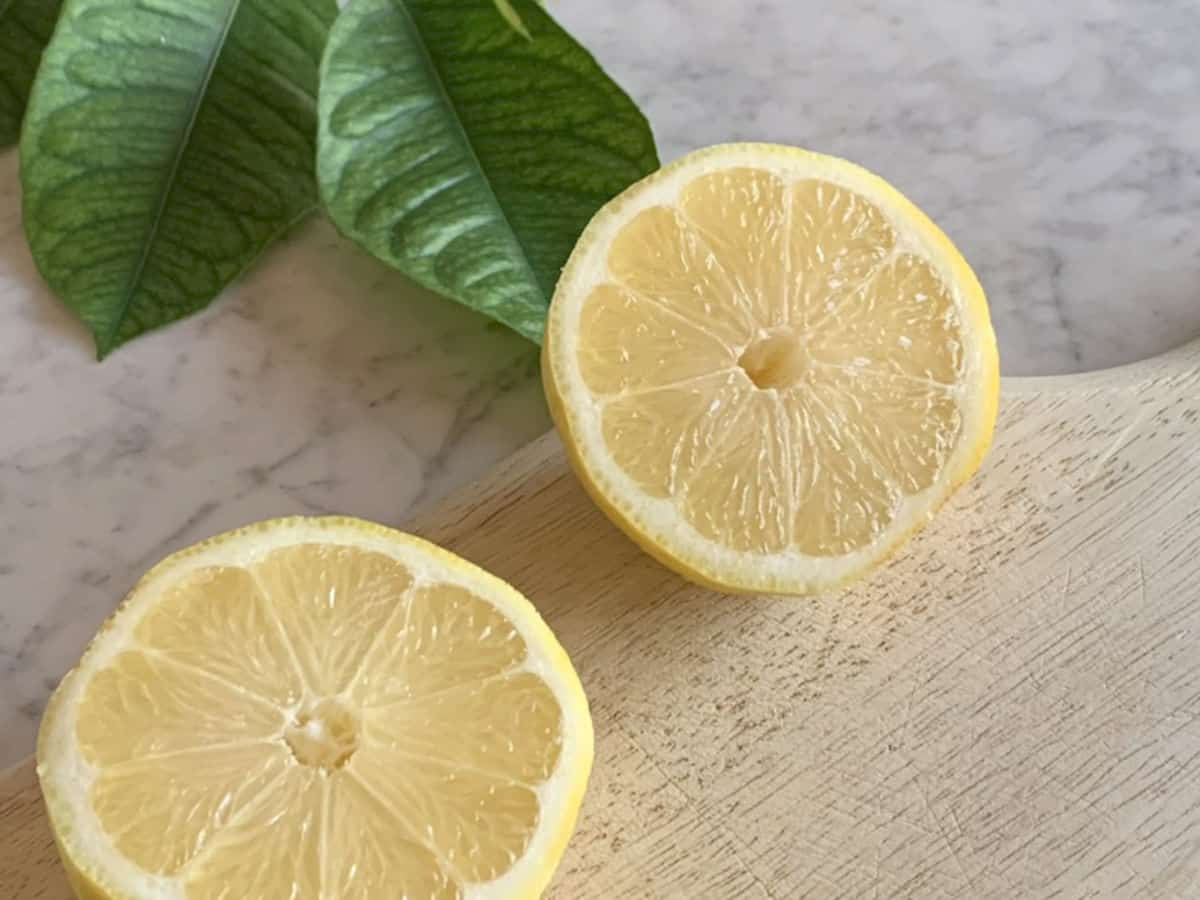
Step 1: Squeezing and zesting lemons
Zest the lemon and then squeeze all the juice. Set aside. Combine the zest with sugar and mix well. You can process the zest and sugar in a food processor to break the zest even more and help release the essential oils. This is an optional step.
Step 2: Combining eggs and sugar
Separate the two egg whites and save for another purpose. With the whisk, break the eggs and whip until they are homogenized. Strain through a mesh sieve directly into the sauce pan that you are going to cook with, to remove any egg particles that would give the curd unpleasant texture.
Pour in the lemon zest infused sugar and immediately whisk. Lastly add the lemon juice.
Step 3: Cooking the curd

Place the pot on a stove and cook at medium heat, constantly stirring and mixing with a wooden spoon. As soon as you feel that there is a slight resistance building on the bottom of the pan, reduce the heat to a low and keep stirring. Make sure you get into the corners of the pan. The curd will start thickening. Once it thickens enough, do a doneness test: you can draw a line on the back of the spoon with your finger. The drawn line should stay unchanged.
Fold in the butter cubes and whisk them to combine.
Step 4: Chilling the curd
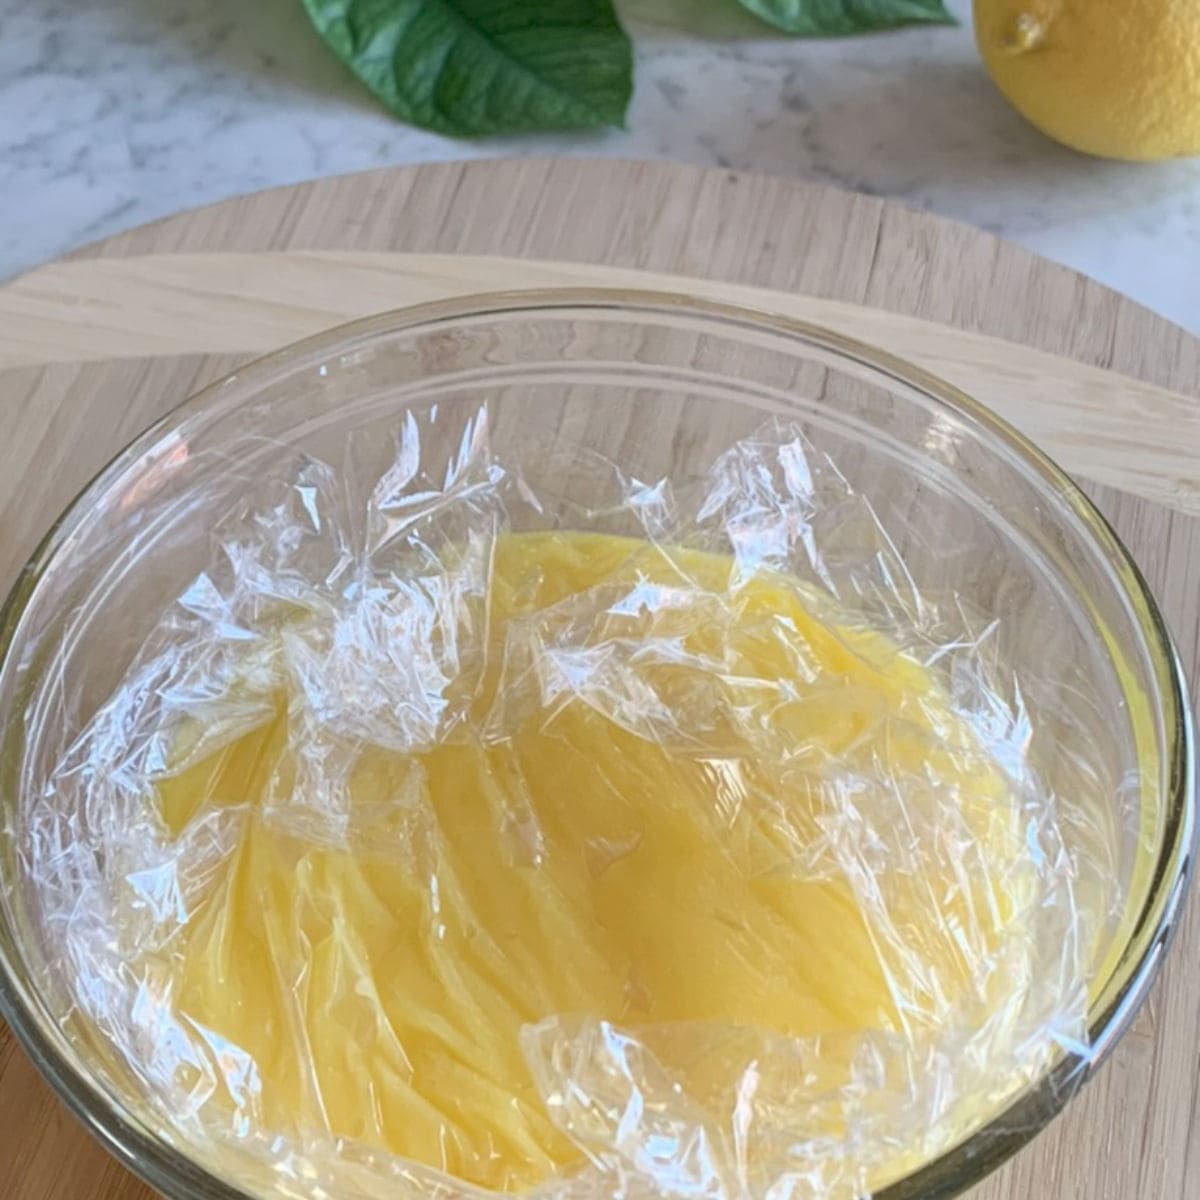
Immediately, transfer the cooked curd into a clean bowl, and lay a plastic film over, directly touching the curd.
Alternatively, if you need the curd sooner, you can place the bowl with curd over ice water and keep stirring until cooled down.
Best Way to Serve
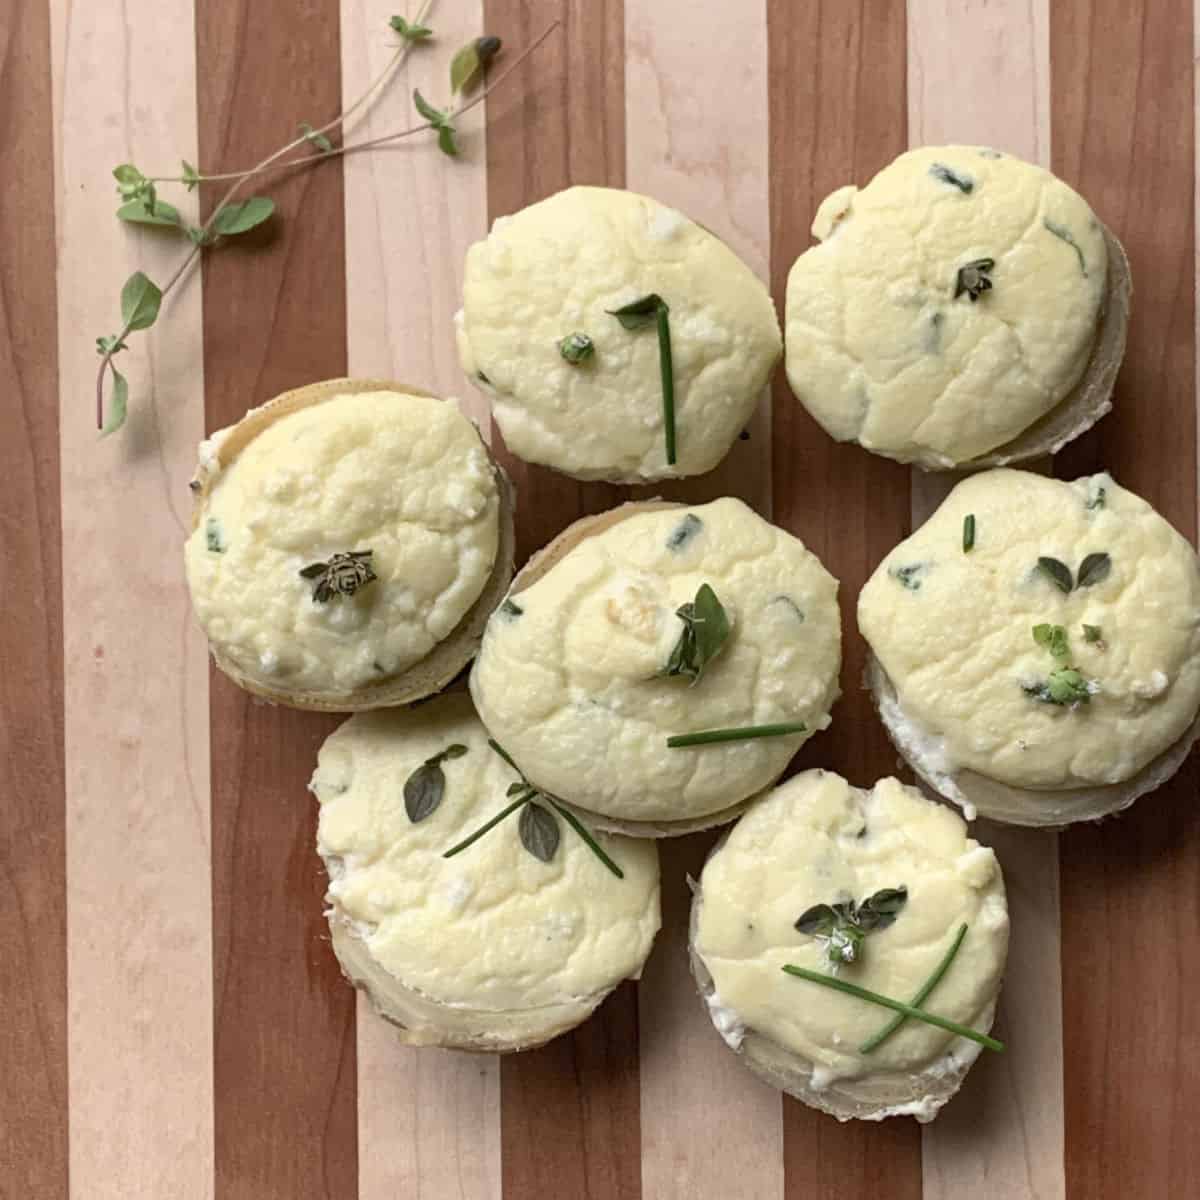
Lemon curd is incredibly versatile and can be enjoyed in many ways. Use it to fill Popoque Cookies or as a delicious addition to Lemon Poppy Seed Muffins.

Tips and Wisdom from Cafe Osharak
Frequently Asked Questions
Why is my lemon curd grainy?
One of the reasons curd becomes grainy is due to the temperature being too high, causing the cooking process to start before the curd is fully prepared. Egg proteins begin to coagulate at around 140°F (75°C). Gentle cooking with lower heat, and continuous stirring, serves the purpose of slowing down the curdling process and evenly dispersing the heat.
Utilizing a double boiler technique is an option to better control the heat.
In cases where the curd has turned grainy, you can strain it through a fine mesh sieve using a strainer to remove any unwanted grainy particles.
Can lemon curd be frozen?
Lemon curd freezes really well. Portion the curd into freezer safe glass or plastic containers, place a piece of plastic wrap, or a parchment paper directly on top of the curd and tightly close with lid. Defrost a day before in the fridge. Do not freeze defrosted curd. You can keep the curd in the freezer up to a year.
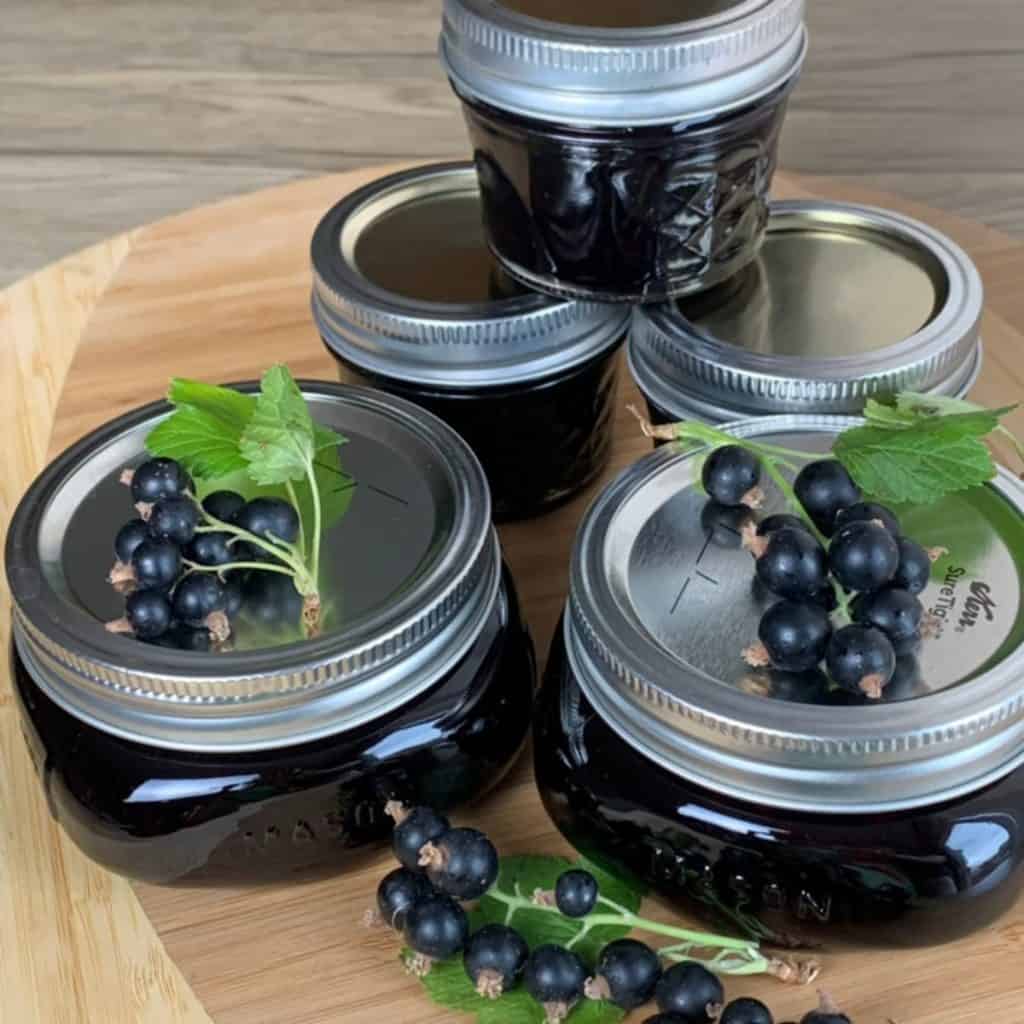
Can lemon curd be canned?
ALWAYS USE SAFETY when working with hot liquids. Use heat proof gloves and canning thongs.
Prepare the canning jars, the lids by washing and sterilizing. Have a hot water bath readily available. Fill hot curd into the clean, hot half-pint jars, leaving ½-inch headspace. Tap gently to remove any air bubbles. Wipe the with dampened, clean towel and apply metal canning lids.
Place the cans into the canning pot, and pour hot (not boiling water) until the jars are completely submerged and have at least an 1 inch of water covering them. You need to maintain the water bath temperatures between 170-180°F for 15-25 minutes depending on the altitude.
1 – 1,000 ft 15 minutes
1,000 – 6,000 ft 20 minutes
6,000 ft 25 minutes
More Recipes to Try From Cafe Osharak
If you’ve fallen in love with the tangy richness of homemade lemon curd, you’ll adore pairing it with a silky, custard-based filling like Cream Mousseline. This luxurious French cream complements citrus beautifully, making it an ideal companion for lemon tarts, cakes, or filled pastries. It’s a match made in dessert heaven! My Homemade Kefir is another simple, rewarding recipe to try—perfect for stirring into this lemon curd for a tangy, creamy dessert.


Homemade Lemon Curd with Homegrown Lemons

Ingredients
- 1/2 cup Lemon juice
- 1 tablespoon Lemon zest
- 2 Eggs
- 2 Egg yolks
- 1/2 cup Sugar
- pinch Salt
- 1/2 cup Butter cold, cubed
Instructions
- Zest the lemon, squeeze and strain the juice.
- Mix the zest with the sugar and set aside.
- Crack the eggs, separating out two egg whites for another use. Beat the eggs with a pinch of salt until well combined. Using a fine mesh sieve, strain the eggs into the sauce pan. Add the sugar and immediately whip with eggs until sugar is almost dissolved. Stir in the lemon juice and place on a stovetop on low to medium heat.
- Keep stirring in a circular motion, ensuring that the mixtures is heating evenly.
- Once the mixture starts thickening, lower the heat and do not stop stirring, reaching all the corners with the wooden spoon.
- Test the thickness of the curd by running your finger across the back of a spoon to create a line. The line should stay unchanged.
- Remove the pan from heat and add the cold butter cubes, whisking with each addition. Transfer the curd into a clean bowl and place a sheet of plastic film directly on top and chill until ready to use.