Chickpea Flour Crepes
These crepes are a wonderful addition to any dinner. I usually make these crepes to serve with Indian inspired dishes, but they can easily work with anything. They are simple, light and delicious and not hard to make. You only need chickpea flour.
What is chickpea flour?
Chickpea flour is a exactly what it sound like: ground, milled garbanzo beans (which are very popular in India, Southern Asia and the Mediterranean region.)
Chickpeas fall under the super-food category. They have a high content of protein and fiber, both proven to fight visceral fat and help with lowering blood sugar. The legumes are are loaded with vitamins and mineral like like magnesium, zinc, phosphorus, B vitamins and much more. (These are are what make up most of the multi-vitamin supplements!)
In addition, chickpea flour is naturally gluten-free, making it a perfect addition to gluten-free diets.
How to make these chickpea flour crepes?

As I mentioned before, these crepes are easy to make. It requires only two ingredients: chickpea flour and water. You don’t need eggs to bind them. Garbanzo beans have natural binding agents that works like eggs. A lot of vegan recipes use chickpeas for that reason.
That said, the chickpea crepes are more fragile and less elastic, since they don’t have the gluten that wheat flour provides. If you are not afraid of gluten you can substitute 1/4 cup of the chickpea flour with all purpose flour.
To keep the crepes light and airy, I use water, but you can substitute milk, nut milk, or any other liquid.
Usually I start with equal volume amounts of flour and water 1:1 ratio (e.g. 1 cup flour to 1 cup water). You can adjust the thickness of the batter. After you mix these together it will fell very thin and watery. You need to set it aside to bloom for at least 30 minutes. After the initial rest, you will need to pass it through a sieve to break the clumps and catch any big pieces. This step is optional but will produce more smooth crepes.
This is your basic slate, and at this point you can start adding flavors and seasoning. I like adding a little bit of olive oil at this stage as well. It moistens and enriches the batter. You can also gauge if it needs more liquid; usually it does. After another 30 minutes of rest the batter is ready for use. You can use the same day or store in the fridge for 1-2 days.
To make the crepes, I use an 8-inch non-stick frying pan. It’s perfect size and easy to manage. Even though I use a non-stick pan, I brush it with a little bit of oil anyway. And I reapply it after making 3-4 crepes. It lubricates the pan just enough to help them brown, but not too much to make the batter pool. It also releases any bits that are left behind from the previous batches.
The 8-inch pan will require approximately 1/4 cup of batter. I use a touch less than 1/4-cup because I like my crepes on the thinner side.
Once the pan is hot, it’s time to test the consistency of the batter one more time. Pour a small amount of the batter into the pan. If it’s too thick, add more liquid; if it’s too thin, sift a little bit of flour into it (chickpea or all purpose).
Tilt the pan and pour the batter midway to the center. Swirl it to help the batter evenly coat the bottom of the pan.

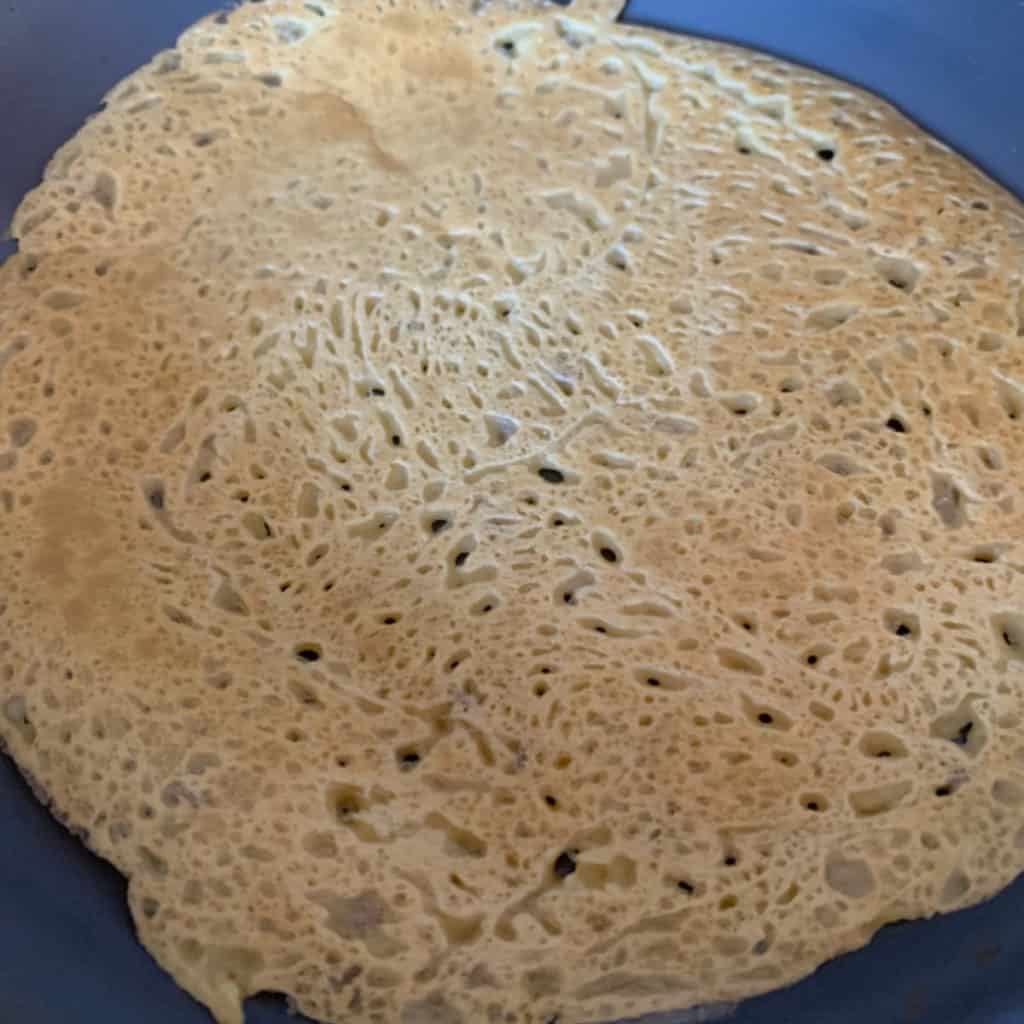
The first side is almost always much prettier and more evenly browned (in these recipes, we’ll call that the presentation side), while the second side tends to be more spotty.

Stir the batter each time before scooping it for the next crepe. This will ensure optimal consistency and smoothness.
If you’re going to store them in the freezer, lay pieces of parchment paper between them to prevent them from sticking together.

Ingredients
- 1 1/2 cup (150 g) chickpea flour
- 1 1/2 cup water
- 1 teaspoon salt
- 1 tablespoon oil
- 1 teaspoon cumin seeds
Instructions
- In a medium bowl, whisk together the chickpea flour and salt. Gradually whisk in the water until smooth.
- Let it rest for 30 minutes.
- Pour the batter through a fine-mesh sieve into another bowl.
- Add the pepper and cumin seeds. Pour in the olive oil and whisk to combine.
- Set aside for another 30 minutes to an hour.
- Check the consistency of the batter. It might need a little bit of liquid.
- Heat a small nonstick skillet over medium-high heat. Brush some oil on the bottom of the skillet and sides.
- Pour ¼ cup of the batter into the center of the pan and swirl around to evenly distribute. Gauge how much batter you need for the crepe. It can be more or less of ¼ cup.
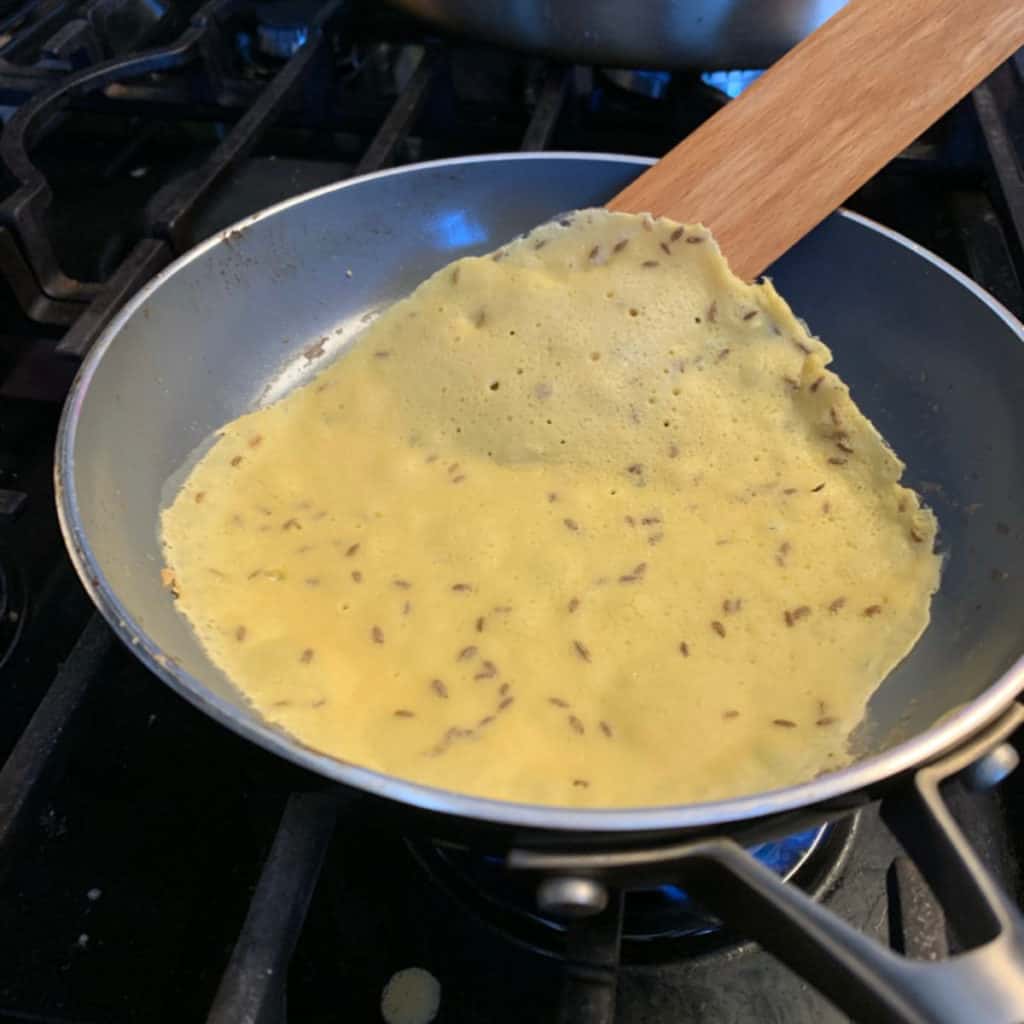
- Cook the crêpe for 1-2 minutes or until you notice the top is dry and the edges are crisp.
- With a wooden spatula go around the edges to loosen the crepe. Carefully lift and flip to the other side.
- Cook on the second side until lightly browned for another minute.
- Transfer the crêpe onto a plate or cooling rack.
- Repeat with the remaining batter. Give a little stirring of the batter before scooping it for the next crepe.
- Brush oil, adjust the heat and whisk the batter as you cook.
- Stack the crêpes on the plate as they’re done. You can use parchment paper between crepe to prevent sticking.


Love these. So easy to make and complement all our dinners nicely.