French Tuile Cookies (Crispy Leaf-Shaped Recipe with Stencil)
This post may contain affiliate links. As an Amazon Associate, I earn from qualifying purchases. See my Affiliate Disclosure .
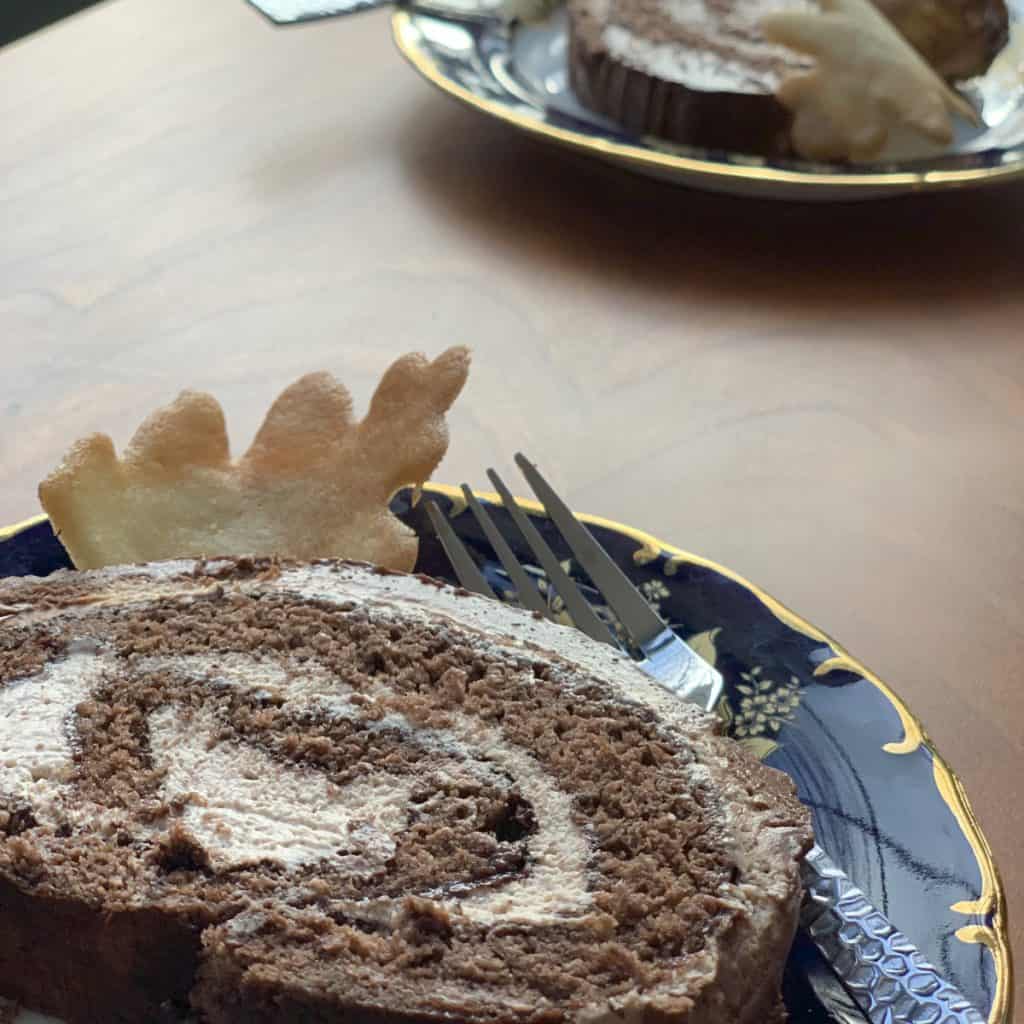
Tuile cookies are one of those baking projects that look far harder than they are. A thin spread of batter, a hot oven, and about seven minutes later you have something that looks like it came out of a French patisserie window. I make these whenever I have leftover egg whites sitting in the fridge – they come together in minutes, bake fast, and shape into leaves, curves, or delicate rolls while still warm. Buttery, barely sweet, with a crisp snap that holds up beautifully next to mousse, panna cotta, or a simple cup of coffee.
Menu Suggestion: Make It a Meal
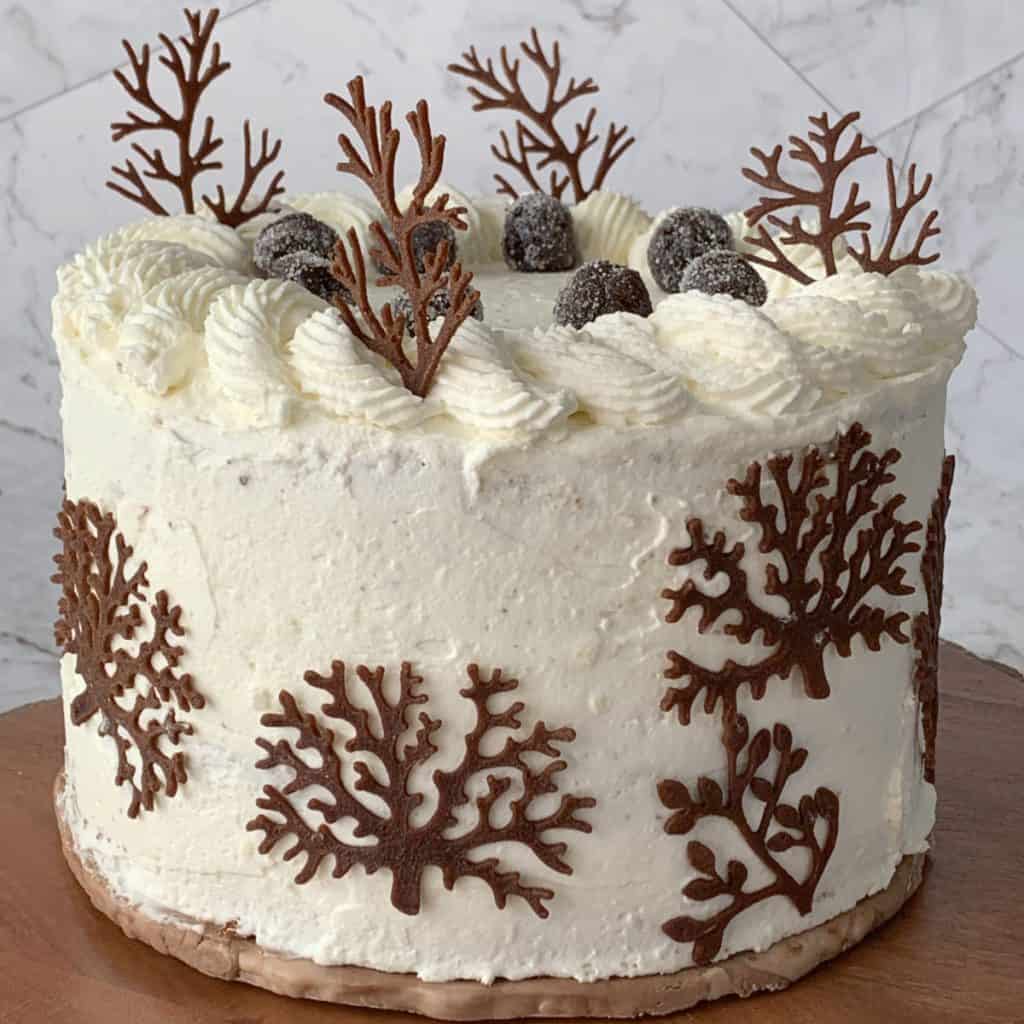
During winter holidays, I love using these cookies as edible accents, decorate the Buche di Noel, – leaning them on chocolate soufflés or scattering them on dessert platters like gilded foliage. If you’re looking for a fun, beautiful baking project that doubles as edible art, these tuile cookie leaves and make a festive
Complete Holiday Menu:
Table of Contents
Chronicles: From Parisian Roof Tiles to Edible Art
In the heart of Paris, nestled between the Louvre and Place de la Concorde, lies the Tuileries Garden. During the Middle Ages, this area sat just outside the city walls and served as an artisan district where craftsmen made roof tiles – “tuiles” in French. The name “Tuileries” endured long after royal families purchased the land and transformed it into palaces and gardens.
Those curved clay tiles, with their distinctive arch, are what French pastry chefs drew on when shaping these cookies. The batter is spread thin, baked until golden and lacy, then draped over a rolling pin while still warm so it sets in that same graceful curve. It’s a small piece of culinary history in every batch.
I first started making tuile cookies as garnishes for holiday desserts, and I’ve been finding new uses for them ever since. There’s something satisfying about the speed of it: the batter takes five minutes, each tray bakes in seven, and you end up with something that genuinely looks like it required professional training. It didn’t. It just required paying attention.
Why You’ll Love This Recipe
Essential Grocery List and Ingredient Notes
Optional Substitutions and Customization
Shape Variations:

Time Required:
Bake in 350°F(180°C) the preheated oven.
Special tools you’ll need

Recipe Steps at a Glance
Step-by-step: How to Make Tuile Cookies
The batter comes together very quickly.

Step 1: In a medium mixing bowl, using a hand mixer or just a whisk, beat the egg whites, salt, and sugar until the sugar dissolves a bit and the mixture is frothy. Add the sifted flour all at once and mix to combine.

Step 2: Whisk in the melted butter and vanilla and mix until you have a homogenized batter.
Let the batter rest for 5-10 minutes while you prepare your baking setup. This allows the flour to fully hydrate.

Step 3: Preheat your oven to 350°F (175°C). Position rack in the center.
Turn a sheet pan upside down so there are no ridges. This makes it easier to slide the spatula under cookies and remove them quickly.
Line the inverted pan with a silicone baking mat. Parchment works but silicone releases better.
Set up your shaping station before baking: Secure a rolling pin or any curved object. Have a cooling rack nearby. Have your offset spatula ready. You’ll need to work very quickly once cookies come out of the oven.

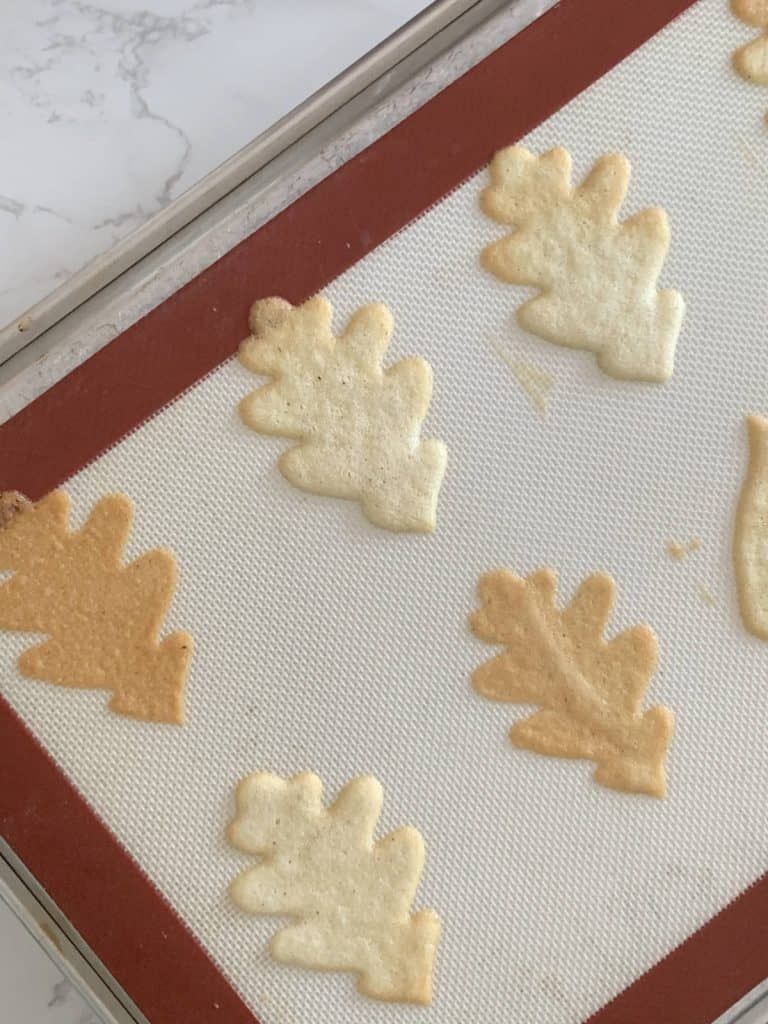
Step 6: Place your stencil in one corner of the prepared pan. Using a small offset spatula, scoop about 1 tablespoon of batter and spread it evenly over the stencil opening. Spread thin.
Scrape off any excess batter. Carefully lift the stencil straight up (don’t drag it) and reposition it on another section of the pan.
Repeat until you have 4-6 leaves on the pan, spacing them about 2 inches apart. They will spread slightly.
Without a stencil: Simply drop spoonfuls of batter onto the mat and use the back of a spoon or offset spatula to spread into thin leaf or oval shapes.
Step 7: Bake for 6-8 minutes, watching carefully. The cookies are done when the edges are golden brown and the centers are light golden.
Working quickly but carefully, slide your offset spatula under one cookie to release it from the mat. The cookie will be very hot and pliable.

Step 8: Immediately drape the cookie over the rolling pin or tube, gently pressing to create a curved shape. The cookie will harden within 10-15 seconds.
Let shaped cookies cool completely on the rolling pin or transfer carefully to a cooling rack.
Best Way to Serve

Creative Serving Ideas:
Holiday Presentations:
Dessert Presentations:
Frequently Asked Questions
What are tuile cookies made of?
Tuile cookies are made from four ingredients: egg whites, sugar, flour, and butter. The batter is whisked together quickly, spread thin onto a baking sheet, and baked until golden and crisp. Their delicate texture comes from the high ratio of egg whites to flour.
How do you shape tuile cookies?
You shape them immediately after they come out of the oven, while they’re still warm and pliable. Slide an offset spatula underneath each cookie and drape it over a rolling pin, tube, or half-pipe. They harden within 10 to 15 seconds and hold their shape once cool. If they harden before you can shape them, return the pan to the oven for 10 to 20 seconds to soften them again.
Can I make tuile cookies ahead of time?
Yes, but they’re best within 24 hours of baking. Store them in an airtight container – ideally with a silica gel packet – for up to 4 days. They lose some crispness over time, but a few minutes in a 300°F oven will restore their snap.
Why did my tuile cookies go soft?
Tuiles are very sensitive to humidity. Even a few hours exposed to air can soften them. Always store in a sealed container and avoid making them on very humid days if possible. Re-crisp briefly in a low oven (300°F) for 2 to 3 minutes.
Do I need a stencil to make tuile cookies?
No, but a stencil gives you cleaner, more consistent shapes. You can cut your own from a flexible plastic cutting board using an exacto knife – I draw oak or aspen leaf outlines and cut them out myself. Without a stencil, you can simply drop spoonfuls of batter and spread them thin with the back of a spoon or offset spatula.
More French Technique – Cookies & Decoration
Tuiles are a technique as much as a recipe – the shaping, the timing, the touch. If you enjoyed this kind of precision, these are the recipes that reward the same kind of attention.

French Tuile Cookies (Crispy Leaf-Shaped Recipe with Stencil)

Ingredients
- 1 egg white
- 1/4 cup sugar
- 1/4 cup all-purpose flour
- 1/4 cut unsalted butter melted
- 1/4 teaspoon vanila extract
- Pinch Salt
Instructions
- Preheat the oven to 350°F.
- In a bowl, beat the egg whites, salt, and sugar using a hand mixer or whisk until the sugar partially dissolves and the mixture becomes frothy.
- Add the sifted flour all at once and mix until well combined.
- Whisk in the melted butter and vanilla extract, continuing to mix until the batter is smooth and uniform. You want the batter to be soft and spreadable.
- Place a silicon mat on an inverted sheet pan to line it.
- Position the stencil in one corner of the pan. Using a small offset spatula, scoop a small amount of batter and spread it evenly over the stencil. Remove any excess batter.
- Carefully lift the stencil and move it to another section of the pan, repeating the process until you have used all the available space.
- Bake for 7 minutes, while preparing the setup for shaping and cooling the cookies. Secure rolling pins and have a cooling rack ready for the hot sheet.
- Once the edges of the cookies turn brown and the desired color is achieved, remove them from the oven and place them near your setup.
- Swiftly and carefully slide the offset spatula under each cookie, draping them over the tubes to shape and cool. Note that you have a limited time before the cookies harden.
- Repeat the steps until all the batter is used, creating more cookies.