Middle Eastern Rosy-Pink Pickled Turnips


This post may contain affiliate links. As an Amazon Associate, I earn from qualifying purchases. See my Affiliate Disclosure .
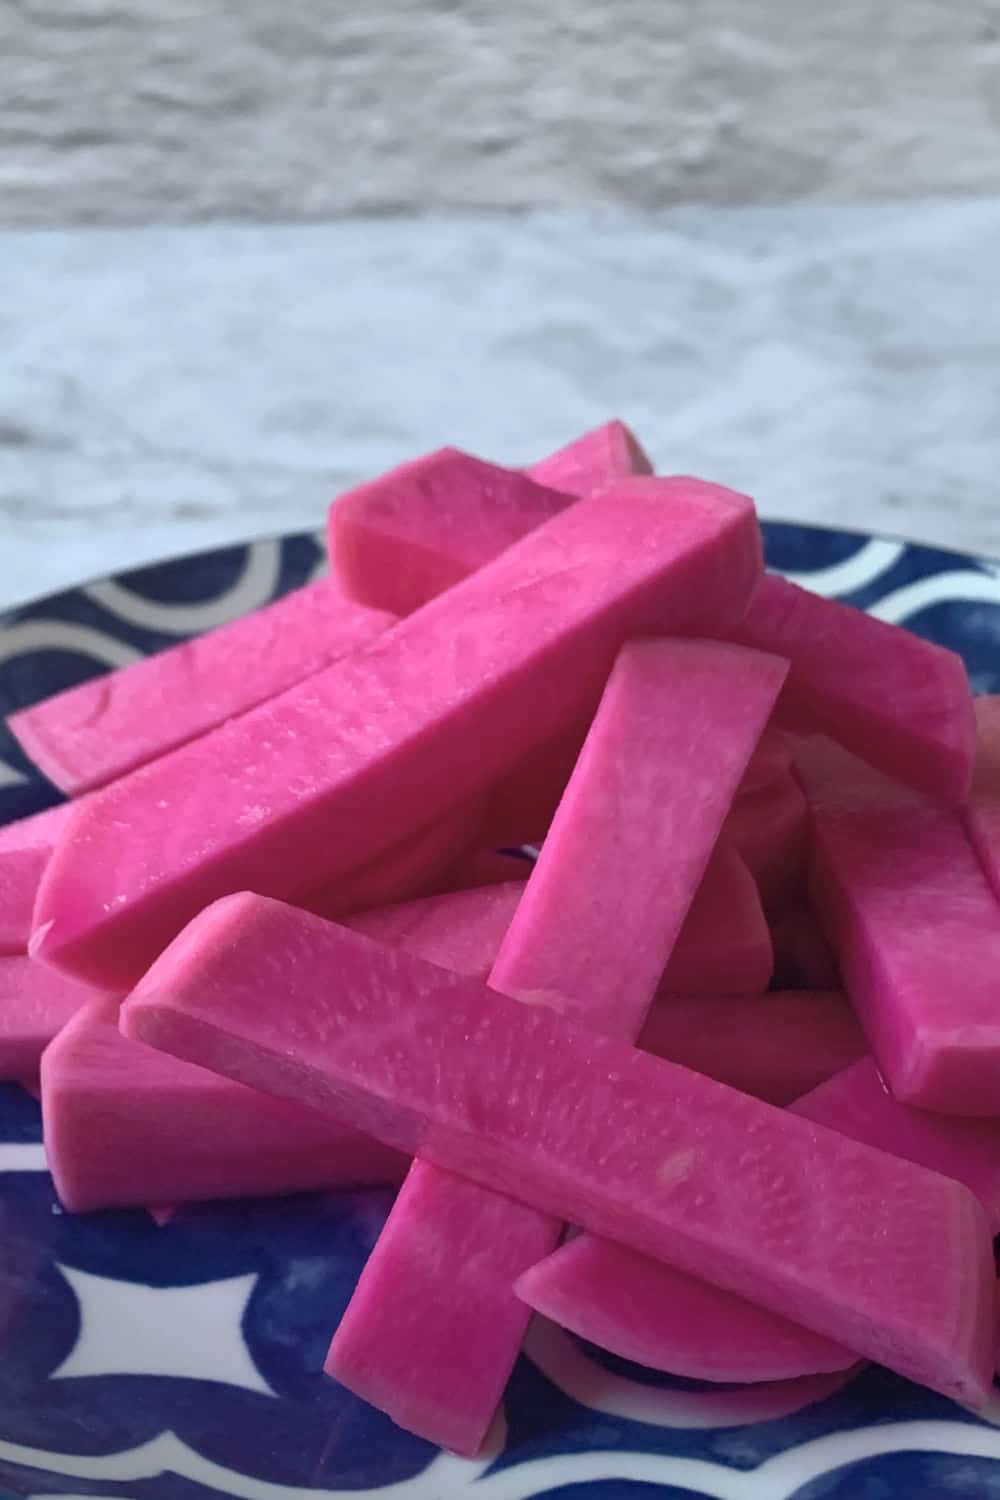
You might have seen rosy-pink pickled turnip batons at Middle Eastern restaurants and wondered how they achieve their rich and vivid color. These tangy, salty, and spicy fermented turnips can be almost addictive snacks, and the best part is they are low in calories and carbohydrates. So, if you are intrigued, you can keep reading to learn how to make them as part of you culinary highlights.

Table of Contents
Chronicles of Turnips
Turnips (Brassica rapa) – a humble member of the cruciferous family, alongside brussel sprouts and kale, have a remarkable story. Originally growing wild, turnips are believed to have shared their ancestry with radishes and mustards, originating in West Asia and Eastern Europe. This makes it quite likely that turnips were domesticated in that region, becoming an essential part of human agriculture.
Which brings them to their unique connection to Armenia, where they are known as “shaghgam”, a name deeply rooted in the Upper Armenian region of Shaghogom. This region, famous for its rich cultural heritage, was an epicenter of Armenian Civilization, kingdoms, and enlightenment. It was in Shaghogom that Mestop Mashtots, the creator of the Armenian alphabet, established his first center of scholars.
Nestled in the banks of the Euphrates river, Shaghogom has fertile lands and rich agricultural trends. For generations, the tradition of growing turnips had been deeply ingrained in the customs of the Armenian people, so its no wonder turnips took the name after the region. This versatile crop played a vital role, not only in Armenia, but all over the world.
Throughout history, turnips have held a special place in culinary traditions. They served as a substantial crop used both for feeding livestock and as a key ingredient in various dishes. The root grows just above the ground, with up to two-thirds of its body exposed to sunlight, giving it a striking array of colors, including deep purple, red, or green, depending on the variety. The part below the ground, hidden from sunlight, remains porcelain white.
Turnips also had a surprising role in Celtic cultures. In Ireland and Scotland, they were carved into jack-o-lanterns, creating eerie lanterns that lit up the night and became symbols of the mystical season.
Turnips were once a primary staple vegetable across the Eastern Hemisphere where they were a reliable source of sustenance for many generations. As the world changed and new vegetables made their mark, turnips gracefully adapted, sharing the spotlight with newcomers like the beloved potato.
From their ancient origins to their presence in contemporary kitchens, these root vegetables have a timeless charm that continues to capture our taste buds and imagination.
Grocery and Pantry List

Pickled Turnip Recipe Steps at a Glance
This pickled turnip recipe can be broken down into the following steps:
How to Make Step by Step
Step 1 Preparing the turnips and beetroot


Wash and scrub the turnip and beetroot thoroughly. Fill a bowl with cold water and add 1 teaspoon of salt. Place the turnips in the water and let them soak for at least 4 hours. This saltwater soak helps to remove any pesticides, insecticides, and bacteria that might be present. It also re-hydrates the turnip cells, making them more absorbent.
Once soaked, peel the turnips and beetroot.
Now, cut the turnips into thick 1/2-inch (1 cm) batons.
Step 2 Preparing the brine
In a saucepan, bring the water to a boil. Add the salt and stir until the salt is dissolved. Drop the bay leaf into the liquid and add the vinegar. Set the liquid aside and let it cool completely.
Step 3 Pickling process


Arrange the turnip batons and sliced beetroots in the jar. Randomly pack in the slivers of garlic and bay leaves. Slowly add the prepared brine all the way. Place a small glass weight to keep the turnips submerged in the brine. Alternatively you can use a lid from the can.
Leave in a cool, dry place away from sunlight for 2-3 days loosely covered with a towel. After that, close with the lid and refrigerate to stop or slow down the fermentation.
Best Way to Serve
Frequently Asked Questions
What makes pickled turnips pink?
The secret to achieving those beautiful pink pickled turnip batons lies in adding a small, raw red beetroot to the pickling mixture. As the fermentation process takes place, the beetroot releases its vibrant red pigment, which the turnip absorbs. The exact shade of pink can vary from batch to batch, depending on the natural redness of the beetroot itself.
Do pickled turnips have carbs?
Turnips are a good choice for a low-carb or keto diet. A medium-sized turnip holds about 8 grams of carbohydrates. 2.2 grams of those are fiber, leaving you with just 5.8 net carbs to consider.
Turnips are a nutritional powerhouse, being low in calories yet rich in essential vitamins and minerals.
What to eat pickled turnips with?
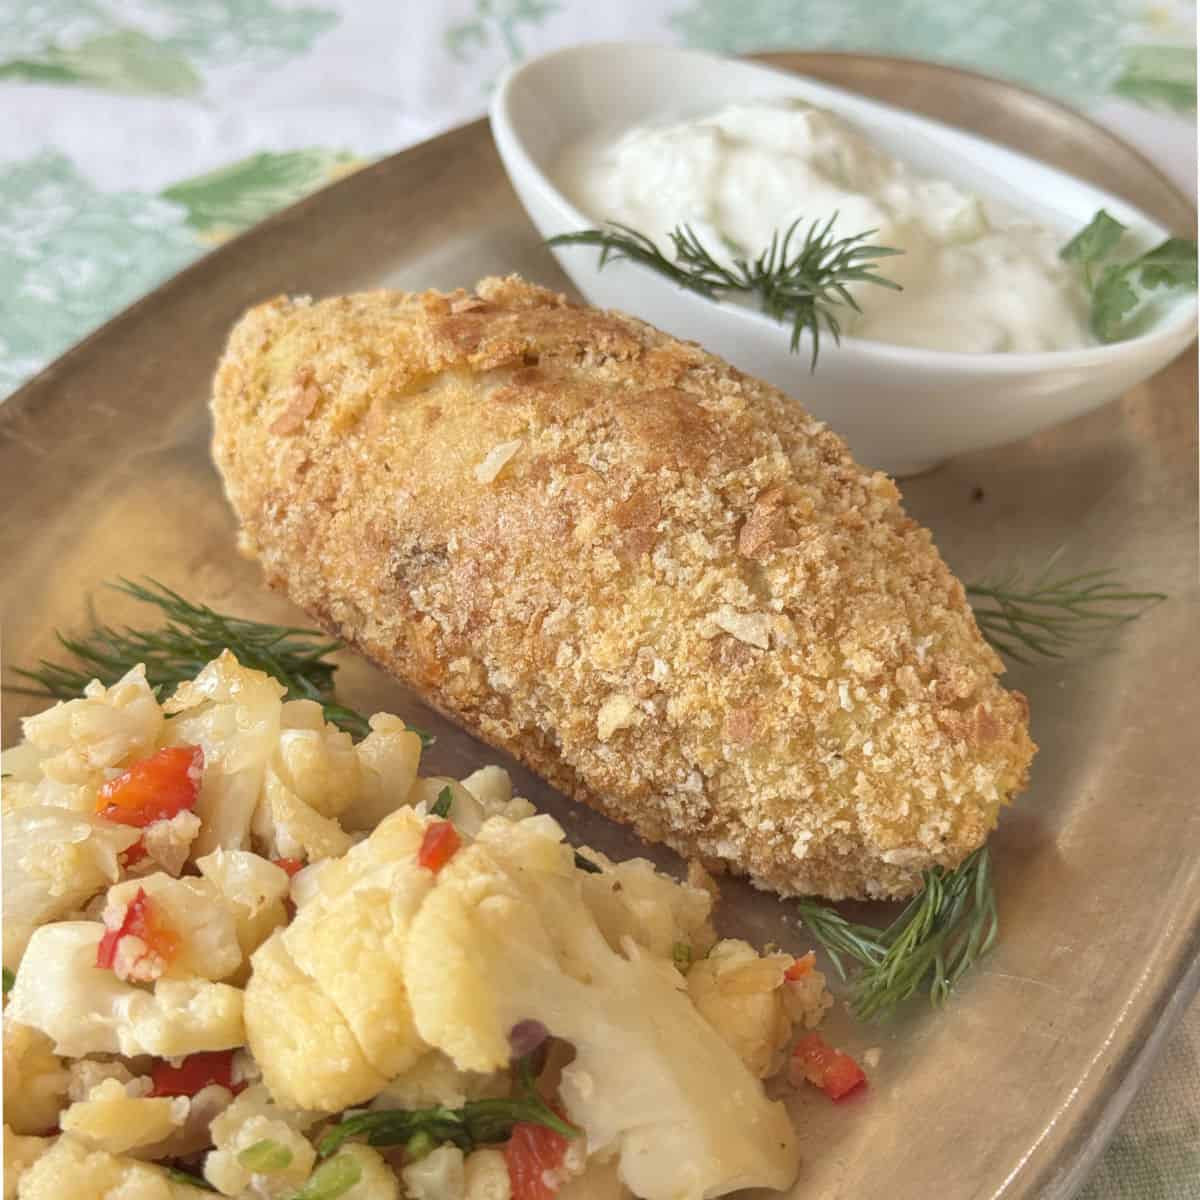
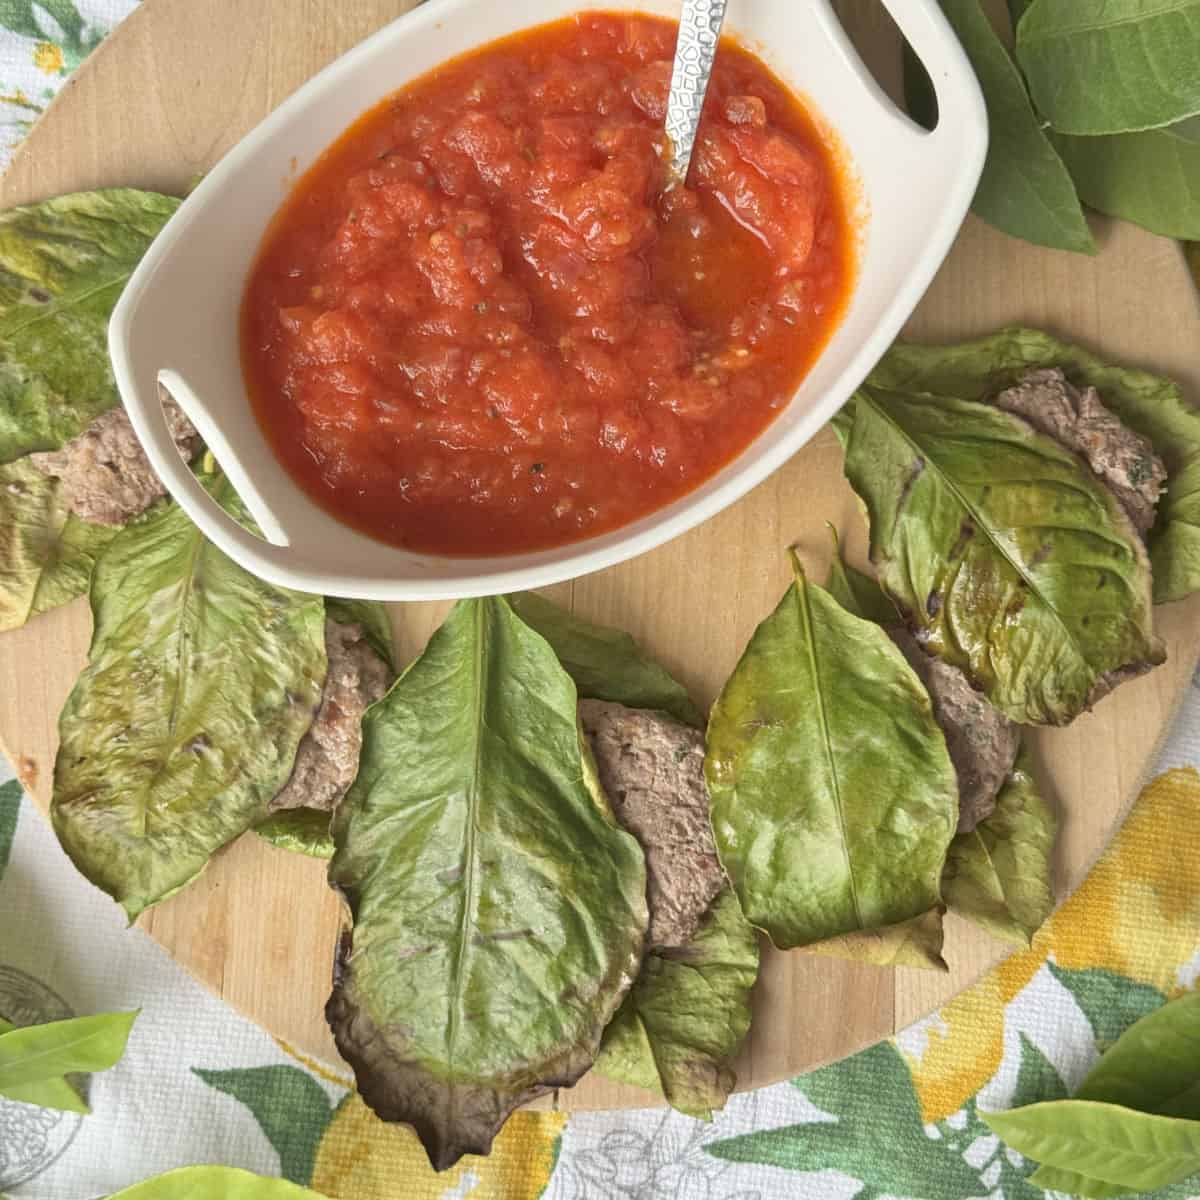
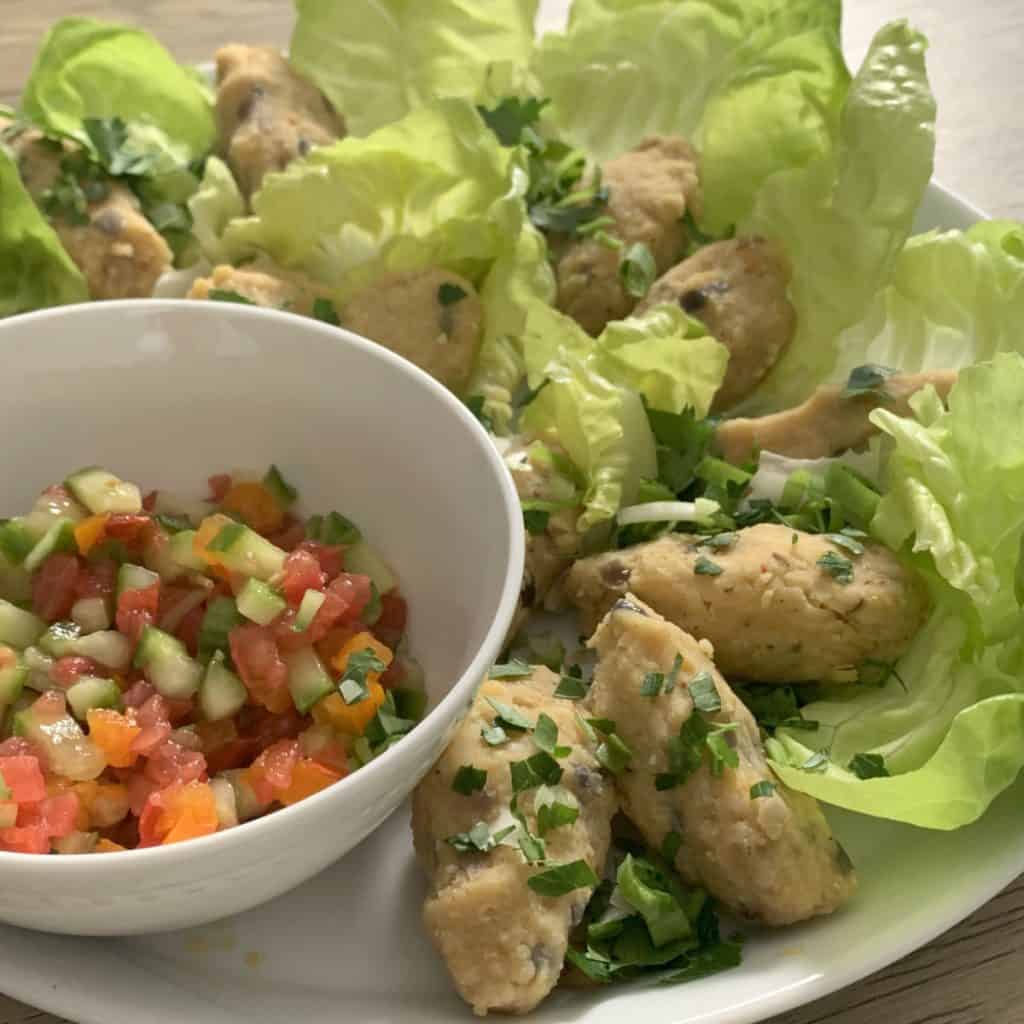
Imagine pickled turnips as akin to pickled cucumbers. Their tangy, vinegary, and salty profile pairs excellently with sandwiches, as well as roasted, grilled meats, and vegetables. Thanks to the fermentation process, they’re not just delicious but also assist in digestion and alleviating heartburn. So, go ahead and relish them alongside fried treats like fries or falafel.
Tips and Wisdom from Cafe Osharak
More from the Armenian & Middle Eastern Preserved Pantry
Pickled turnips turn pink from a single slice of beetroot in the jar – one of the most visually striking things on any Middle Eastern or Armenian table, and one of the simplest to make. These are their companions.


Did you make this turnip pickles or another recipe from my blog? 🌟 Please rate it and leave a 📝 comment to tell me all about your experience. Thanks for stopping by!
Pickled Turnips

Ingredients
- 3 cups water
- 4 tablespoon coarse salt rock salt, koshar salt
- 1 cup white vinegar distilled
- 1-2 bay leaves
- 2-3 turnips peeled cut in batons
- 1 beetroot peeled and cut in batons
- 3 cloves garlic
Instructions
- In a saucepan, combine the water and salt and bring it to a boil. Drop the bay leaves into the solution.
- Remove from heat and let cool to room temperature.
- Once cool, add the vinegar and give a stir.
- Cut the turnips and the beet into 1.5 cm (1/2 inch) thick batons.
- Arrange the turnips, beets in a clean jar, adding the garlic slices into the layers.
- Pour the salted brine over them in the jar.
- Place a small weight on top of the turnips to keep them submerged in the brine.
- Loosely cover with the cloth and place in a dark cool place away from sunlight.
- Once done, tightly close with the lid and refrigerate.